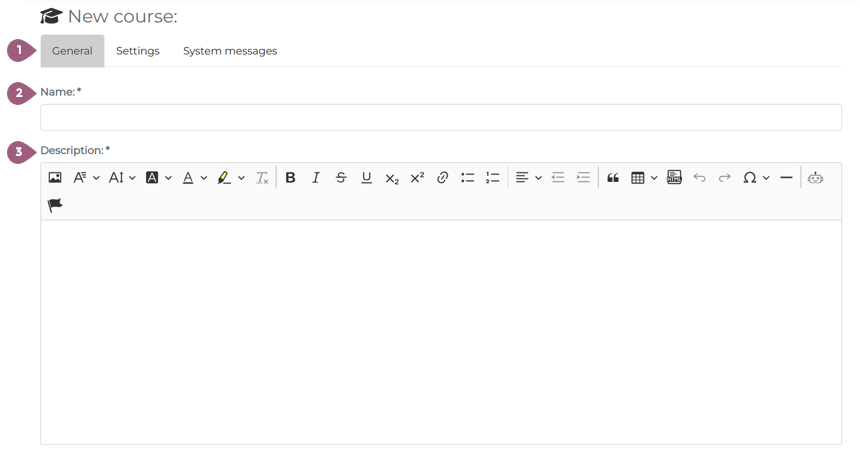
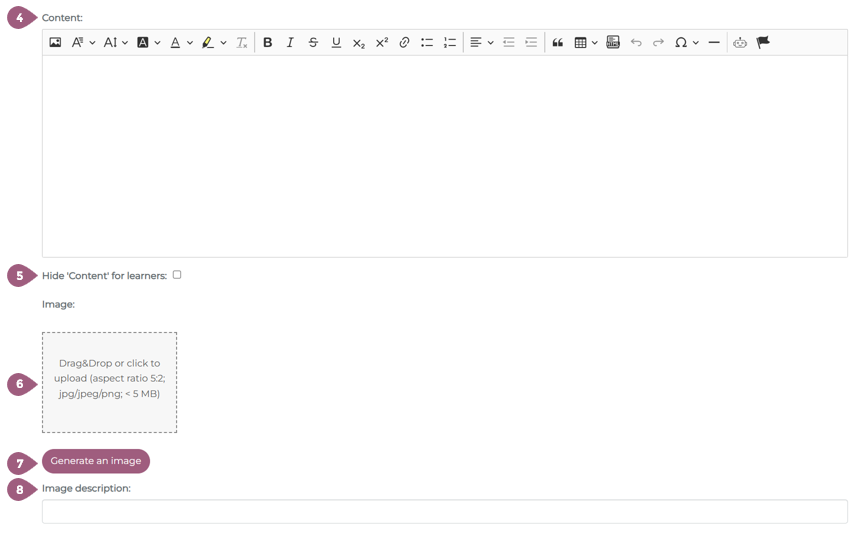
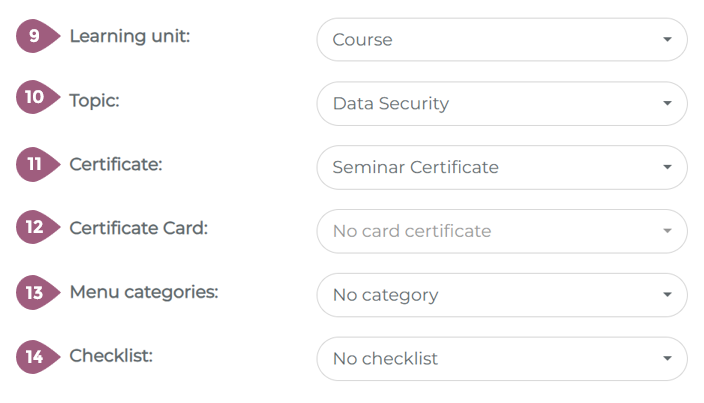
Under General (1), first enter the name (2) and description (3). There is no text limit for the description, and formatting is possible. The name and description are the only two mandatory fields when creating a learning unit. In the “Content” field (4), you can optionally enter the key information about the learning unit. The information here can optionally appear on the certificate. The placeholder for this is called “Reference Content.” For more information on inserting this placeholder, see Certificates. If you do not want learners to see the content on the learning unit overview, click the “Hide content from learners” checkbox (5). (6) You can upload a preview image for your learning unit using the drag & drop field or upload function. If you do not insert an image here, a default image from the system will be displayed. Some learning units offer you the option of generating an image with AI (7). Directly below the image, you also have the option of adding an image description (8) to improve accessibility. Optimal dimensions for thumbnails: The recommended dimensions for displaying thumbnails are 650 px x 390 px. If an image with a different aspect ratio is used, the LMS will automatically crop it to fit these dimentsion. Within the learning element overview page, the width of the preview images is also 650 px, but the height of the image is variable, meaning that the image is displayed as in the original graphic. (9) Using the corresponding drop-down menu, you can specify the type of learning unit to which the learning box or interactive content should be assigned. Only interactive content and learning boxes have the ability to be assigned to different types of learning units. The use of learning units is optional. If you do not select anything, the content will be assigned to interactive content or learning box on the start page. If you select Courses here, for example, this learning unit will be appear under “Courses.” (10) Using the corresponding drop-down menu, you can specify the topic area to which the learning unit should be assigned. The use of subject areas is optional and only makes it easier to find them later in the statistics. (11) If participants are to receive a certificate after completing the content, select this from the corresponding drop-down menu. The certificates will be made available to participants via the participant list after they have completed the content. No certificates or certificate cards can be stored for feedback. (12) In addition to the certificate, there is also the option of creating a certificate card. Certificate cards can only be sent to learners by you after they have completed the learning unit. (13) If you assign the learning unit to a specific menu category, it will only be displayed in that category (instead of in the entire course catalog). Details can be found in the related article on categories. (14) You can select a checklist using the corresponding drop-down menu. Before saving the process, you can proceed to the next step with the settings. Creating learning units: General Information