Creating and using certificates
Basics
In nectar LMS, you can create certificates and link them to individual learning elements so that learners receive them automatically after completing the learning unit. The placeholders (e.g., user name, course name) adapt dynamically to the respective user and the learning element linked to the certificate.
The certificate is automatically available after passing a learning unit and can be downloaded by learners
- in the detailed view of the respective learning element,
- viewed and downloaded in the learning history,
- automatically sent to learners by email. (This setting can be activated when creating the respective learning element.)
Creating certificates
Certificates can be created in the administration area under Settings > Certificate using the certificate editor. A background image, free text, and numerous placeholders* can be inserted.
By clicking on the download icon, you can generate a preview of the certificate.
To create a certificate, proceed as follows:
(1) Insert the background image that was previously uploaded to the media pool in the “internal” folder. The optimal size for background images is 3175 x 4490 pixels.
(2) Insert a table (recommendation: 2 fields in width; number of rows depending on how much text is needed).
(3) Enter text and placeholders in the appropriate cells and format as needed.
(4) Select the entire first row and use the “Cell Properties” icon that appears to specify the desired row height in pixels. Similarly, select the entire column and use Cell Properties to specify the desired column width in percent.
(5) Select the alignment of the row containing the text (in this example, left-aligned)
Note: When creating a certificate, the content is transferred once from the first version created to the other languages. If you then want to make changes to a language version of the certificate, select the appropriate system language from the drop-down menu at the top right of the header, enter the changes in the certificate, and click “Save.” Users receive the certificate for a course in their selected system language.
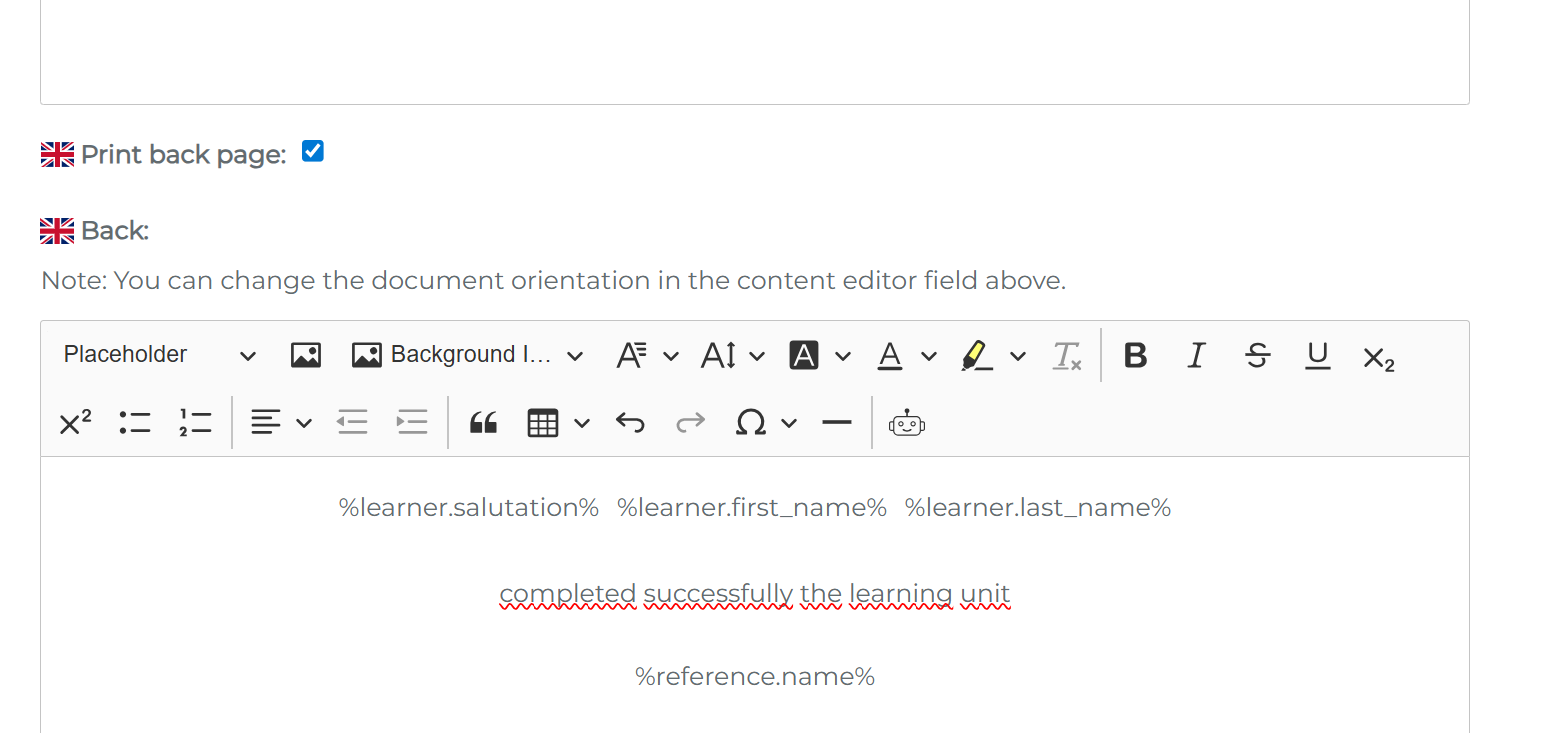
It is also possible to create double-sided certificates. If you check the “Print back” box, a second page of the certificate will be generated. The back can be customized just like the front:
*Any placeholders listed in the LMS but not in this list are not longer active and will be removed in a coming update. Please refer to the below available placeholders:
- Salutation
- Learner salutation, e.g., Dear Ms./Mr.
- Short learner salutation, e.g., Mr./Ms.
- Username
- Learner username, e.g., Hans.Müller@example.com
- First name
- Learner’s first name (“Learner First Name”), e.g. Hans
- Learner’s first name in uppercase letters (“Learner First Name Uppercase”), e.g. HANS
- Last name
- Learner’s last name (“Learner Last Name”), e.g. Müller
- Learner’s last name in uppercase letters (“Learner Last Name Uppercase”), e.g. MÜLLER
- Title
- Learner’s academic title (“Learner Title”), e.g. Dr.
- Title before learner’s name (“Learner Name Prefix”), e.g. Pastor
- Company
- Learner’s company (“Learner Company”), e.g. Example GmbH
- Phone number
- Learner’s phone number (“Learner Phone”), e.g. 0049…
- Email address
- Learner’s email address (“Learner E-mail”), e.g. z.B.dummy@example.com
- Fax
- Learner’s fax number (“Learner Fax”), e.g., 0049…
- ZIP
- Learner’s ZIP code (“Learner ZIP”), e.g., 80807
- City
- Learner’s city (“Learner City”), e.g., Berlin
- Street
- Learner’s street (“Learner Street”), e.g. Sample Street
- Date of birth
- Learner’s date of birth (“Learner Birth Date”), e.g. 02/11/1966
- Place of birth
- Learner’s place of birth (“Learner Birth place”), e.g. Berlin
- Profile picture
- Learner profile picture (“Learner profile picture”)
- Supervisor
- Greetings to the learner’s supervisor (“Learner Supervisor Salutation”), e.g., Dear Ms./Mr.
- Name of the learner’s supervisor (“Learner Supervisor Name”)
- User ID number
- Learner’s ID (“Learner Personal Id”), e.g., ID 1
- Client
- Name of the learner’s client (“Learner Client name”), e.g., FKC
- Information about the learner’s job
- Learner’s job department (“Learner Section”), e.g., HR
- Learner job level (“Learner Job level”), e.g., Level 5
- Information about the learning unit
- Name of the learning unit (“Reference Name”), e.g. Course 1
- Note: When attached to a seminar meeting, the name of the meeting with be displayed
- Name of the learning unit with link (“Reference Name with Link”), e.g. Seminar 1 https://www.example.com
- Type of learning unit (“Reference Unit Type”), e.g. Seminar
- Description of the learning unit (“Reference Description”), e.g. This course provides an introductory overview…
- Content of the learning unit (“Reference Content”), e.g. Content…
- Learning time of the learning unit (“Reference Learning Time”), e.g. 1 day
- Note: When attached to a seminar, the learning time entered in the seminar will be displayed
- Learning time of the learning unit in hours (“Reference Learning Time (h)”), e.g. 1 hour
- Note: When attached to a seminar, the learning time entered in the seminar will be displayed
- Start of the learning unit (“Reference Started by User At”), e.g. 06/03/2024
- Time of completion of the learning unit (“Reference Finished At”), e.g., 03/03/2025
- Expiration of completion of a learning unit (“Reference Completion Expires At”), e.g., 03/31/2026
- Expiration of the processing time for a mandatory unit (“Reference Mandatory Expiration Date”), e.g., 06/03/2024 00:00
- Name of the client for the learning unit (“Reference Client Name”), because a learning unit may have been created as cross-client and in a different client than the learner’s client.
- Gamification points for the learning unit (“Reference Points”), e.g., 10 points
- Note: When attached to a seminar, the gamification points e entered in the seminar will be displayed
- Name of the learning unit (“Reference Name”), e.g. Course 1
- Information about meetings and seminars
- Name of the instructor(s) (“Meeting Instructor/s”), e.g., John Doe
- Name of the seminar (“Meeting seminar name”), e.g., Seminar 1
- Description of the seminar (“Meeting Description”), e.g., The meeting will take place with a professor at LMU.
- Start date of the event (“Meeting Start Date”), e.g. 07/03/2024
- Start date and time of the event (“Meeting Start Date time”), e.g. 07/03/2024 14:00
- Start time of the appointment (“Meeting Start Time”), e.g. 14:00
- End date of the appointment (“Meeting End Date”), e.g. 03.07.2024
- End date and time of the appointment (“Meeting End Date time”), e.g. 07/03/2024 14:00
- End time of the appointment (“Meeting End Time”), e.g. 14:00
Number of users enrolled in the appointment (“Meeting Number of Enrollments”), e.g., 90 - Appointment capacity (“Meeting Capacity”), e.g., 20
- Table showing changes to the appointment (“Meeting changes table”), e.g., New: 06/07/2024 12:40 p.m.
- Table showing changes to the seminar (“Seminar change table”), e.g. New: This seminar offers a comprehensive overview…
- Seminar number (“Seminar number”), e.g. Seminar 1
- Meeting number (“Meeting Number”), e.g. 1
- Street address of the location for in-person meetings (“Location street”), e.g. Sample Street
- Postal code of the location for in-person meetings (“Location zip”), e.g., 80807
- Address of the location for in-person meetings (“Location Address”), e.g., Sample Street 123
- City of the location for in-person meetings (“Location city”), e.g., Munich
- Fax number of the location for in-person meetings (“Location fax”), e.g., 0049…
- Name of the location for in-person meetings (“Location Name”), e.g., Location 1
- Phone number of the location for in-person meetings (“Location Phone”), e.g., 0049…
- Location link (“Location Website”), e.g., https://www.example.com
- Location email for in-person appointments (“Location email”), e.g., dummy@example.com
- Link to the meeting for virtual appointments (“Meeting Online Link”), e.g.,https://www.example.com
- Capacity of the room for in-person appointments (“Room capacity”), e.g., 100
- Description of the room for in-person appointments (“Room description”), e.g., The room is located on the second floor
- Name of the room for in-person appointments (“Room name”), e.g., Room 1
- Phishing
- Phishing image (“Phishing image link”)
- Phishing link (“Phishing link”)
An overview of the user attributes created in your system can be found under Super Administrator Settings > User Properties.