Whiteboard: how to use
In the whiteboard overview, under Actions, you can open a whiteboard using the screen icon.
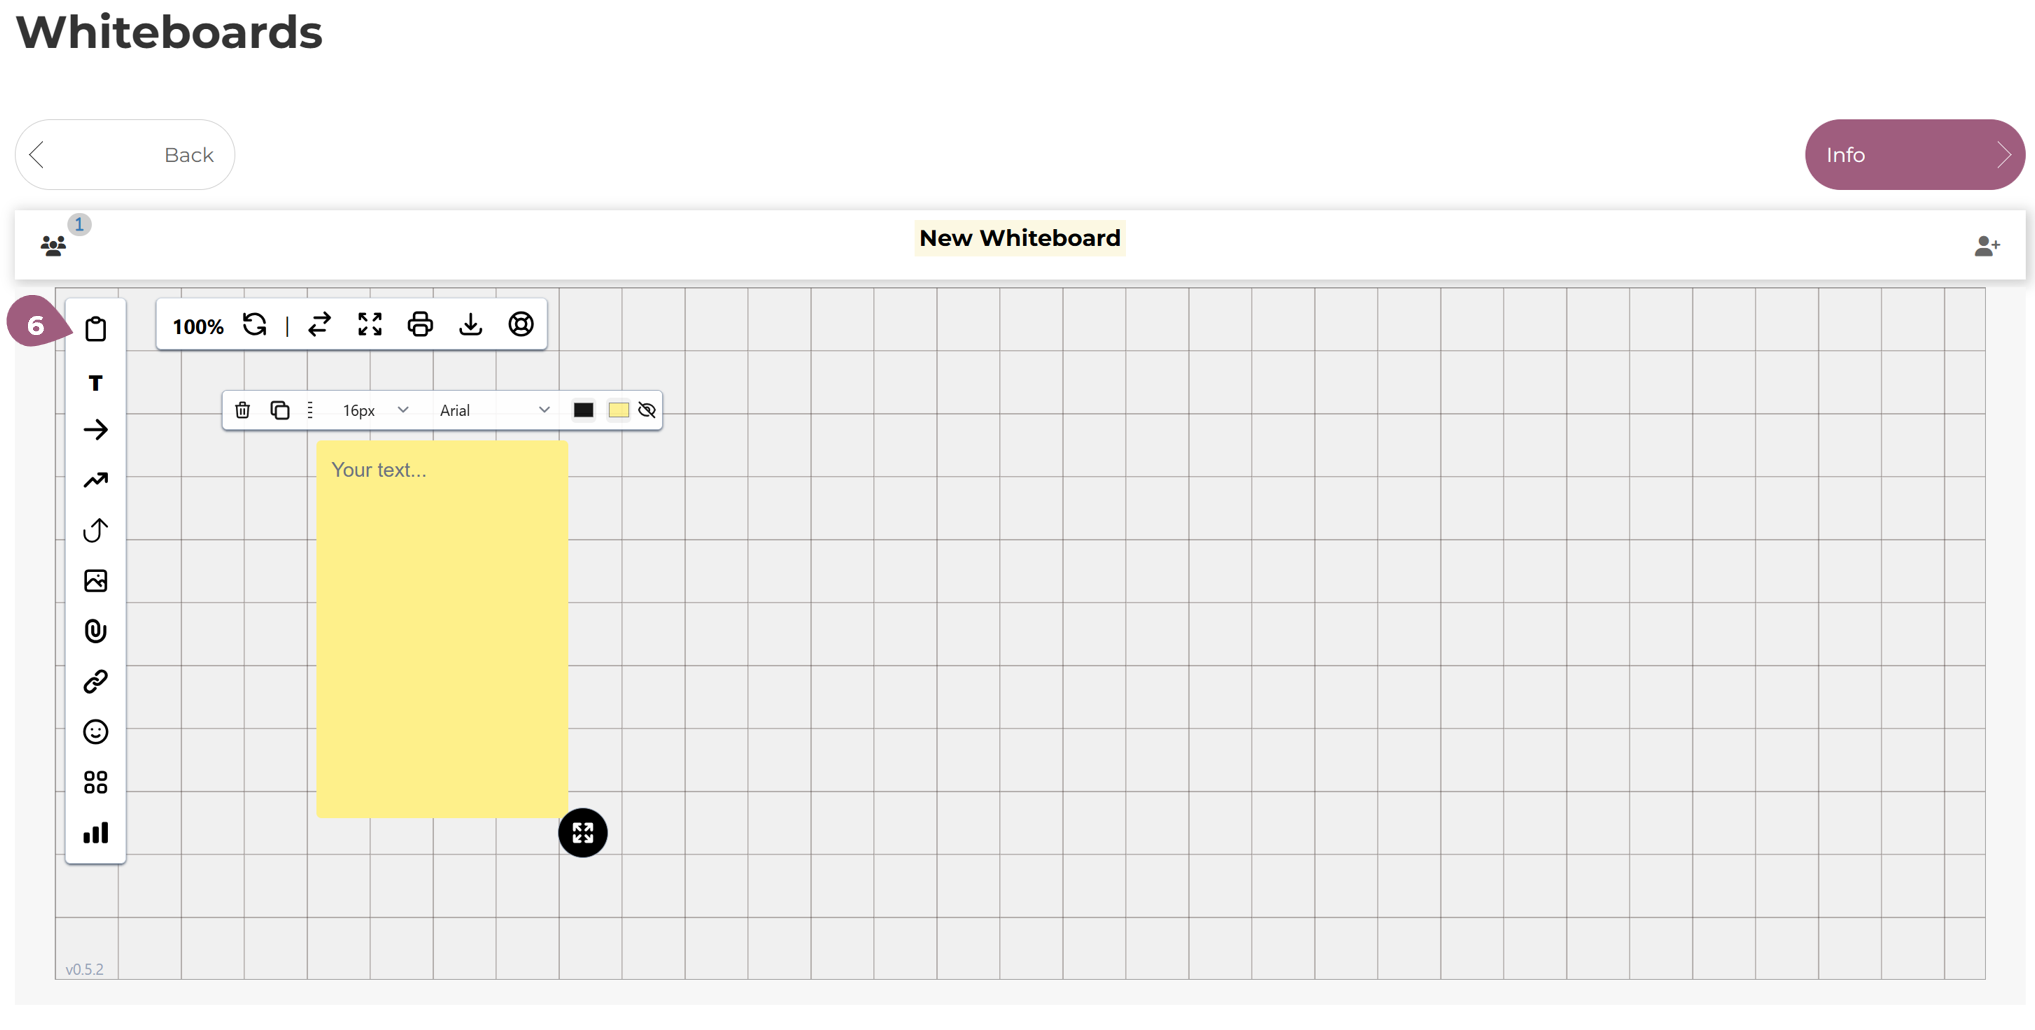
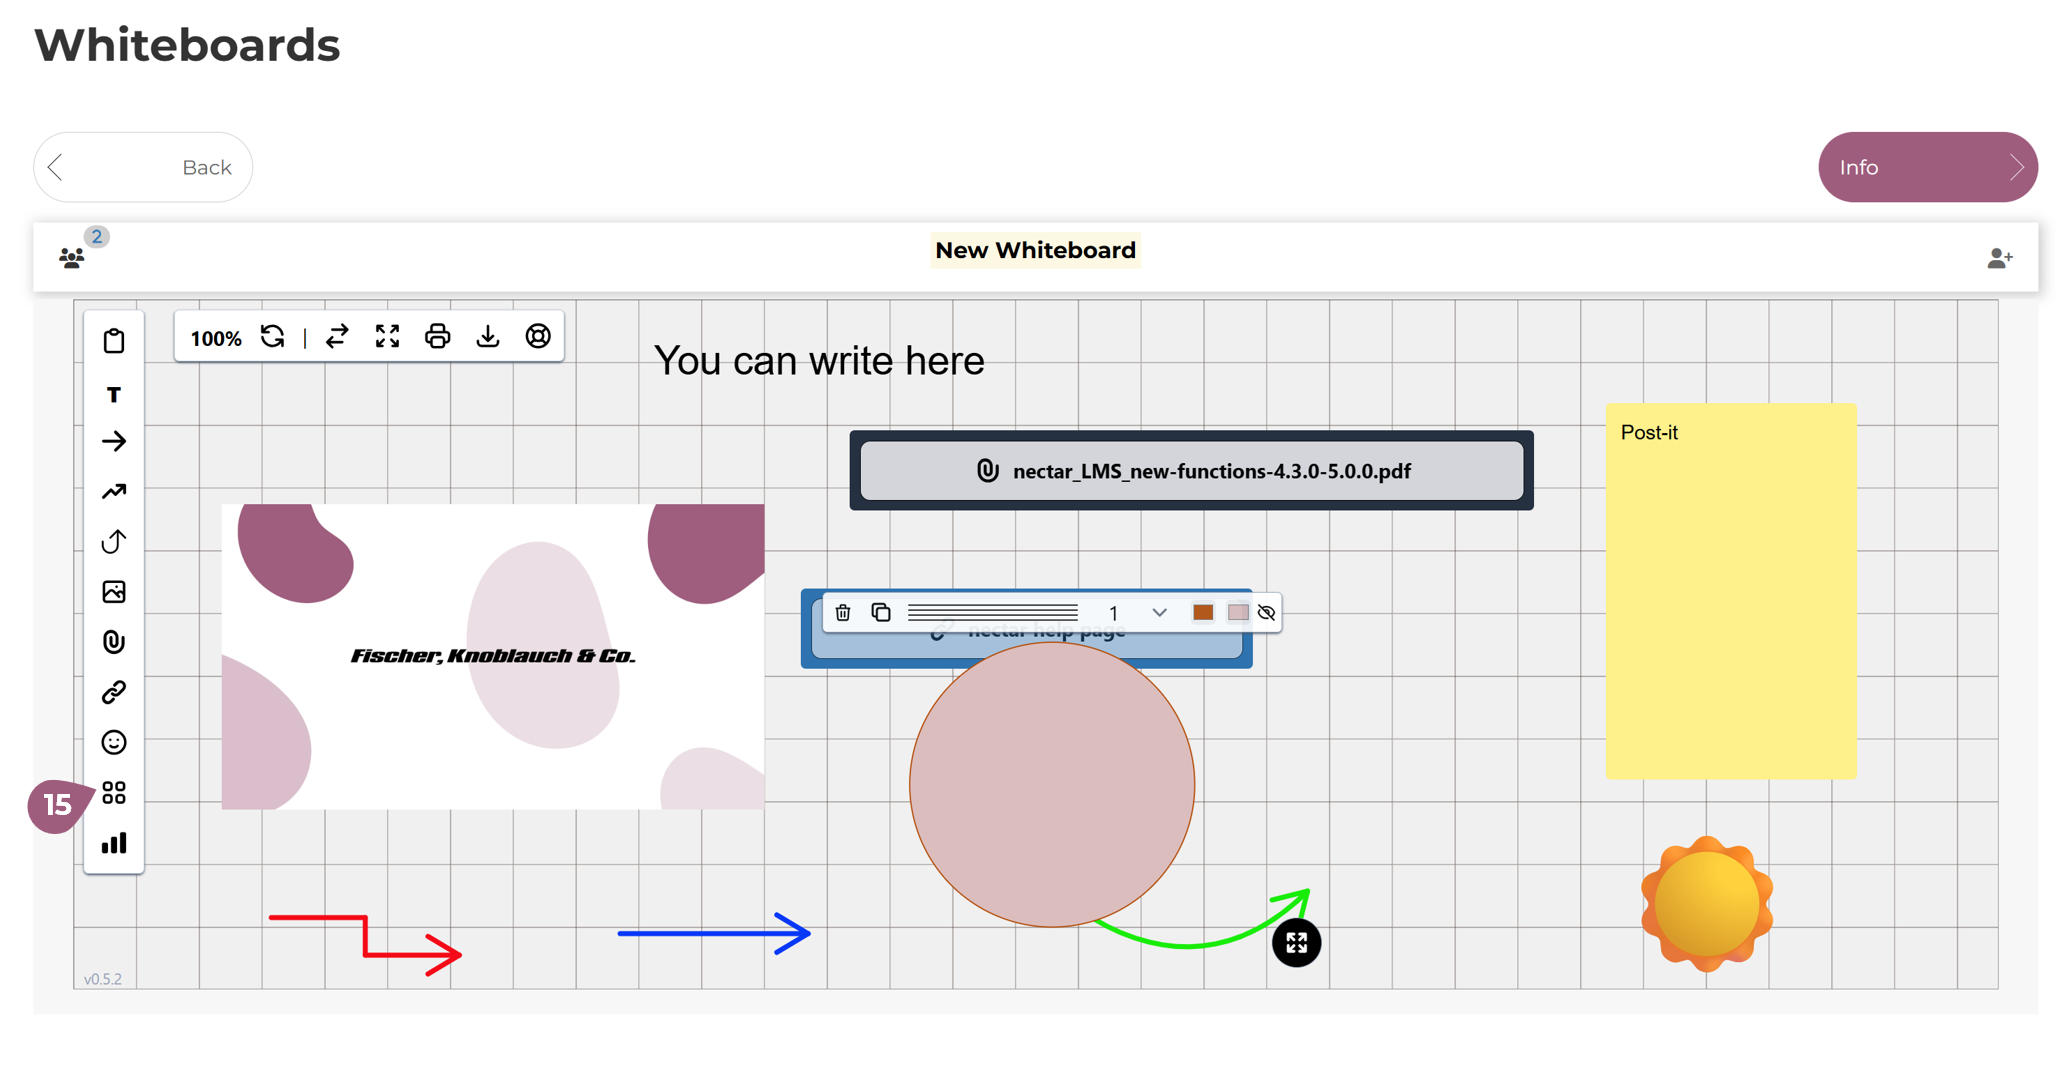
An empty whiteboard looks like the following screenshot:
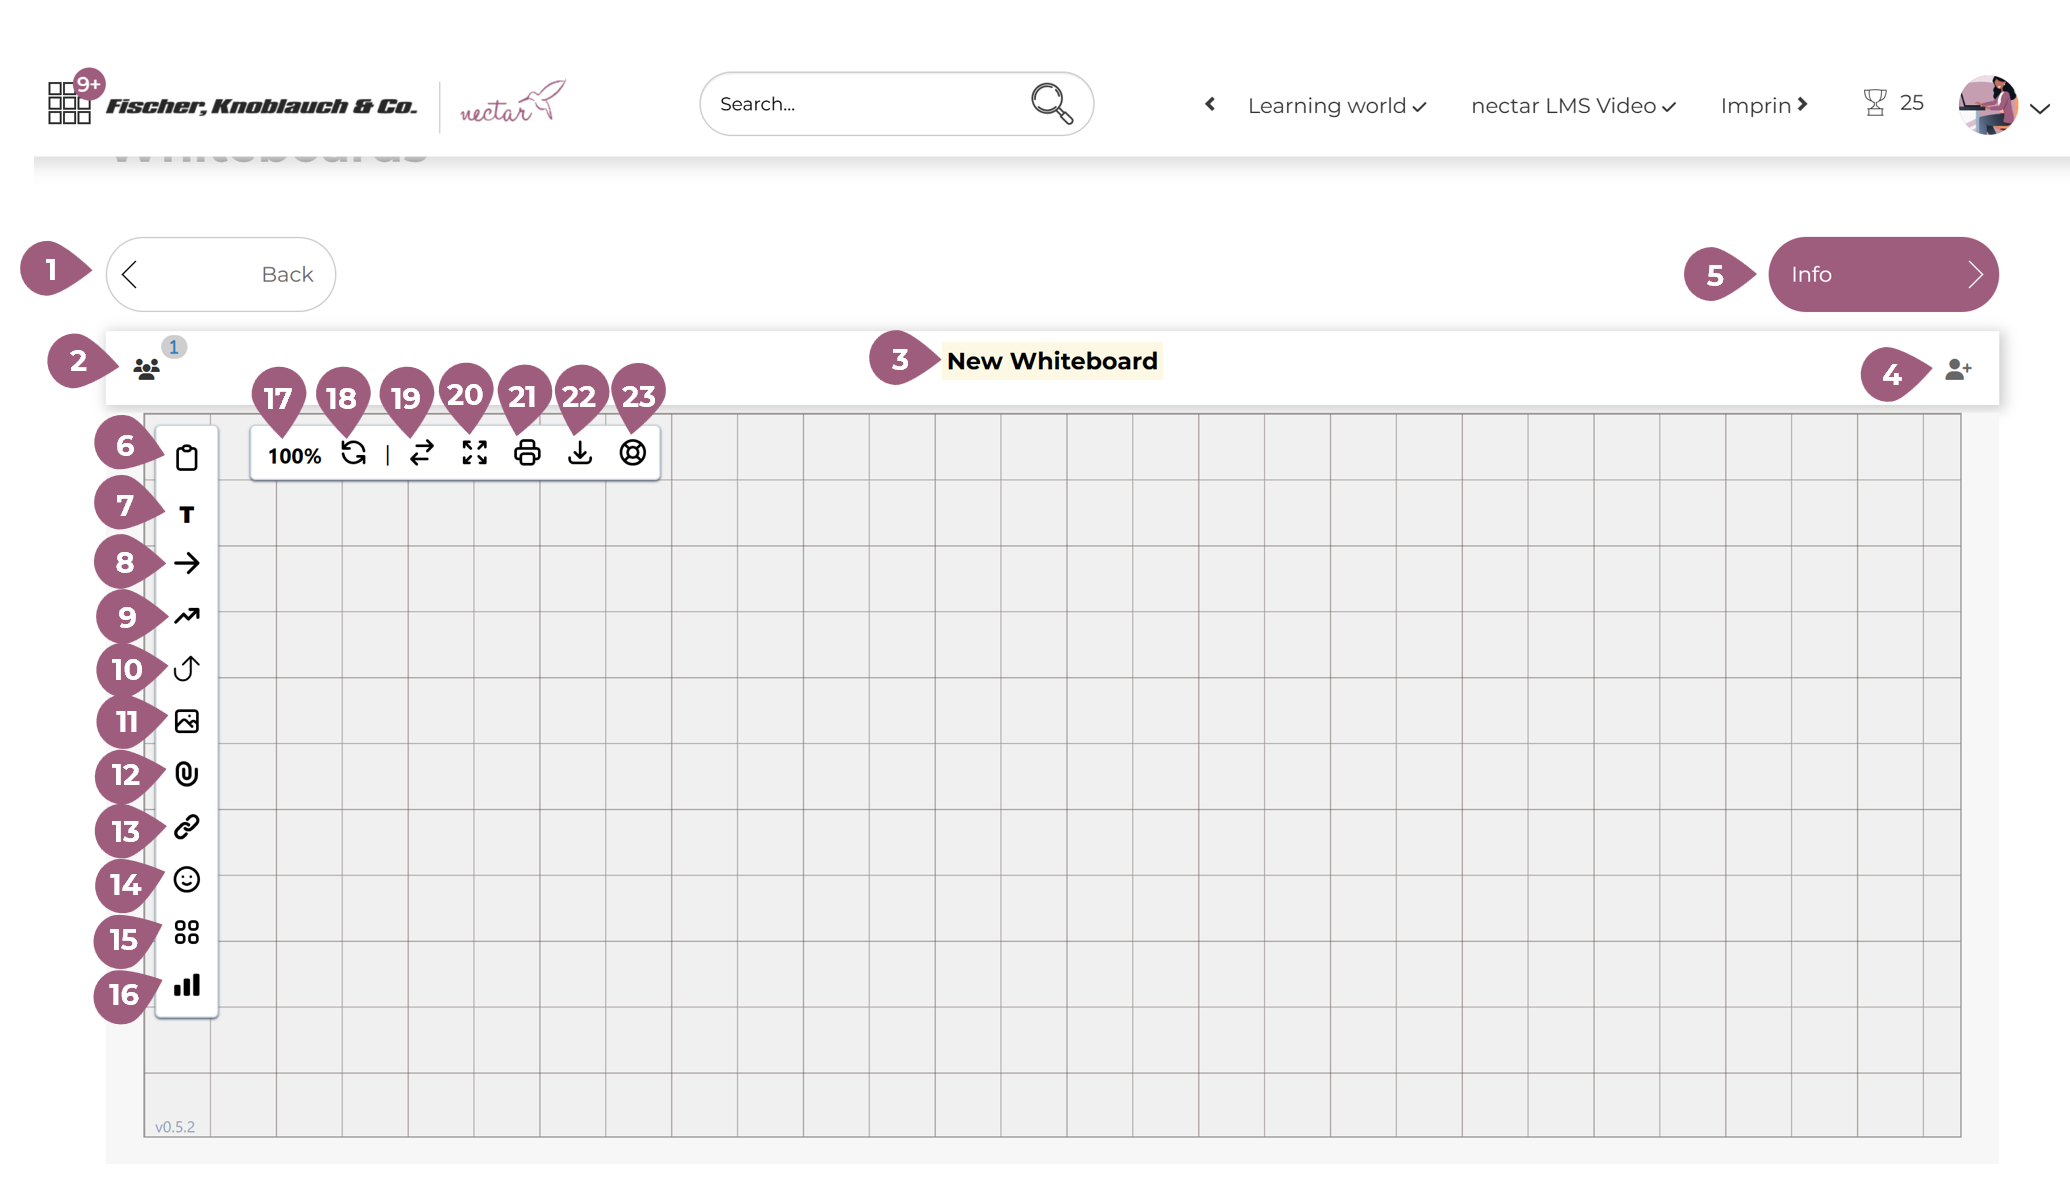
(1) Back: Use “Back” to return to the whiteboard overview.
(2) Participants: The people button allows you to see how many users have access to this whiteboard and remove them if necessary.
(3) Whiteboard Title: Here you can see the title of the whiteboard.
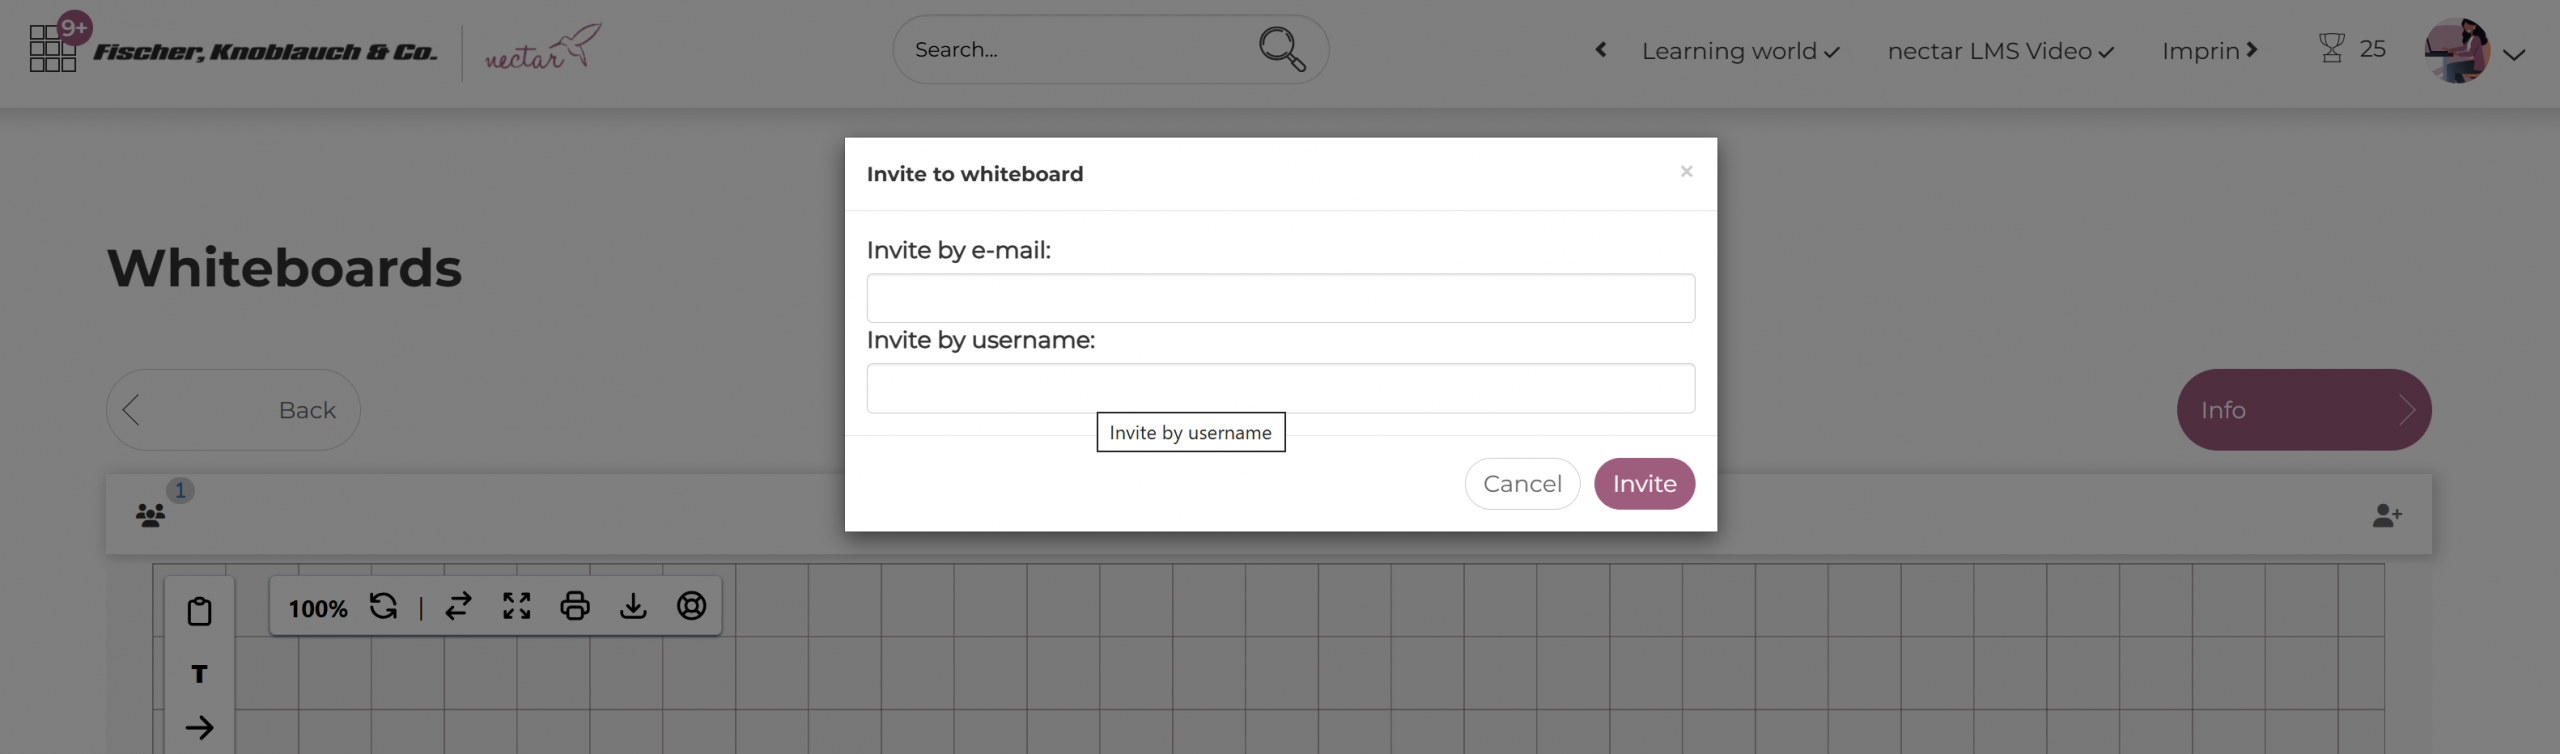
(4) Invite Users: You can invite other users via the “Person+” button, either by email or username:
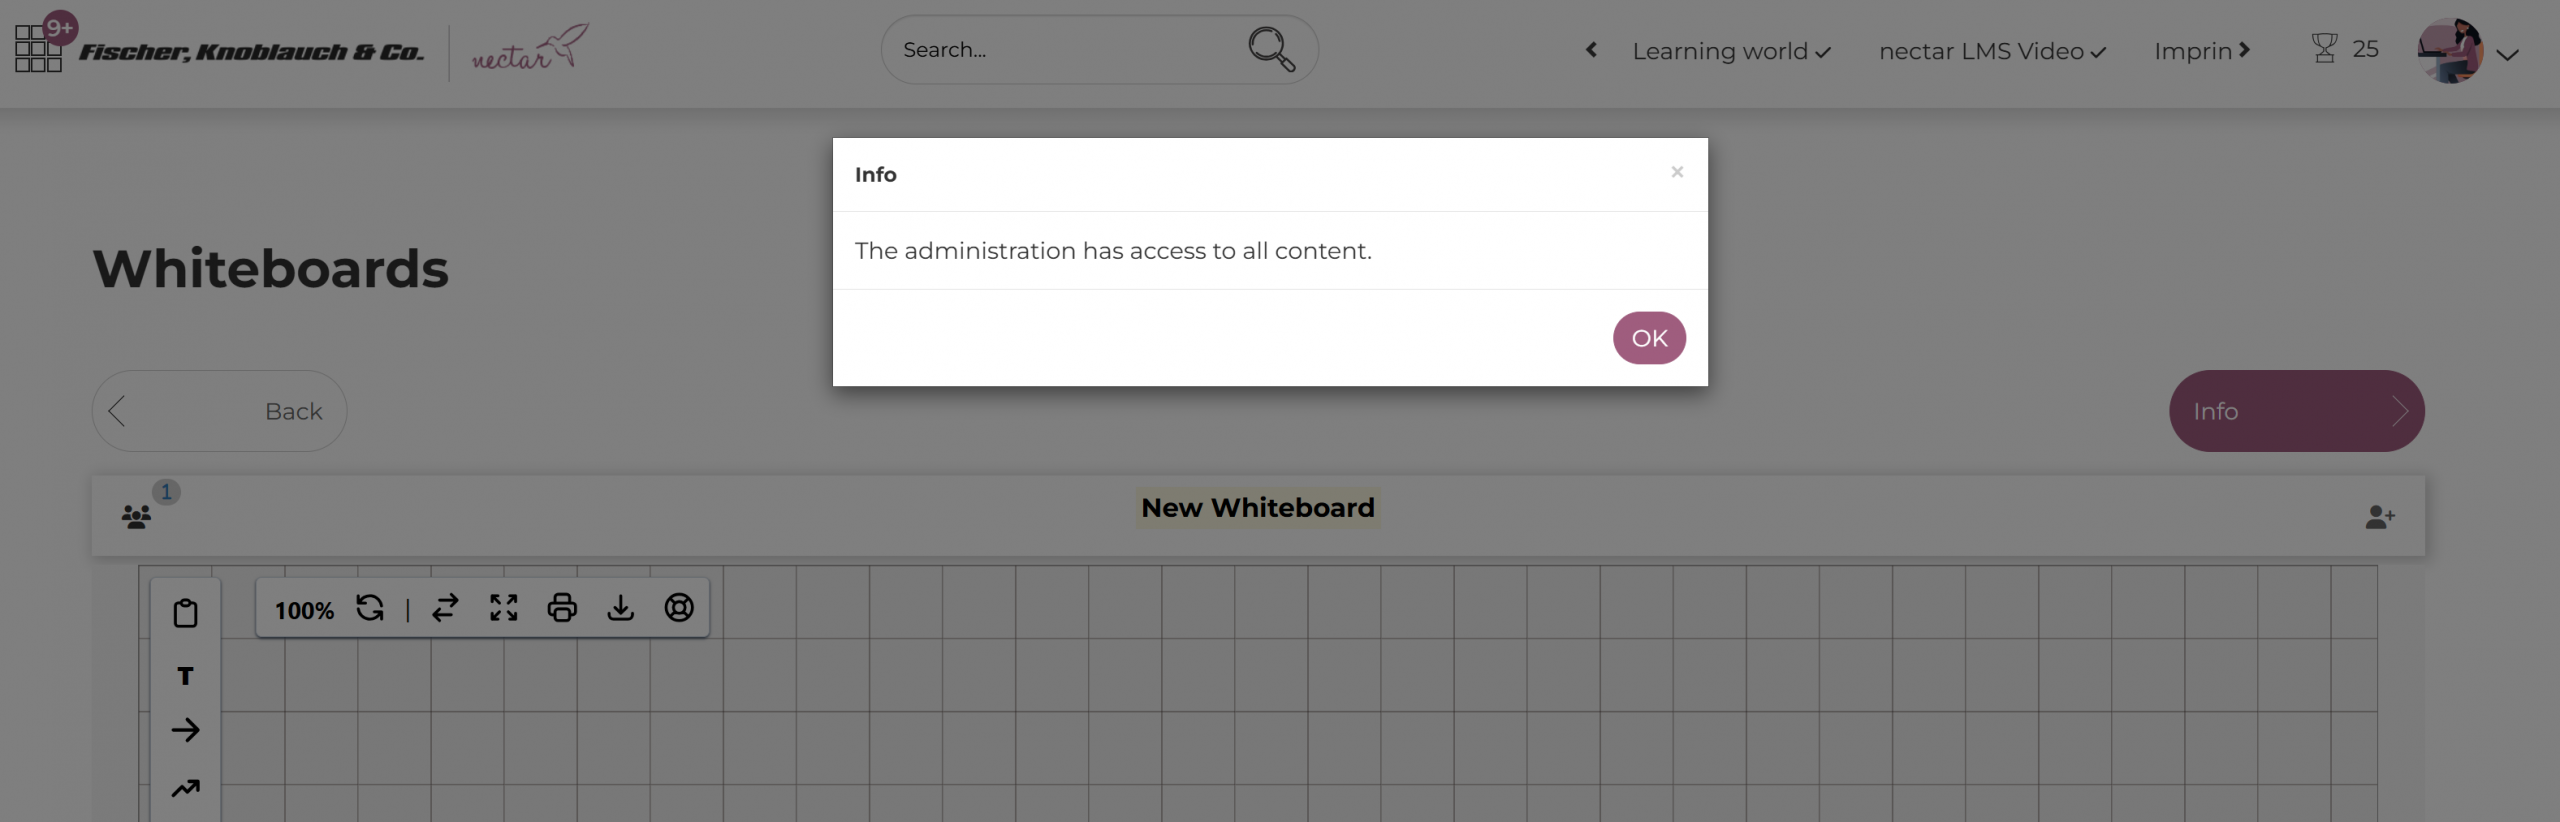
(5) Whiteboard information: The “Info” button provides further information on managing the whiteboard:
(6) Notes: You can insert notes/post-its using the button:
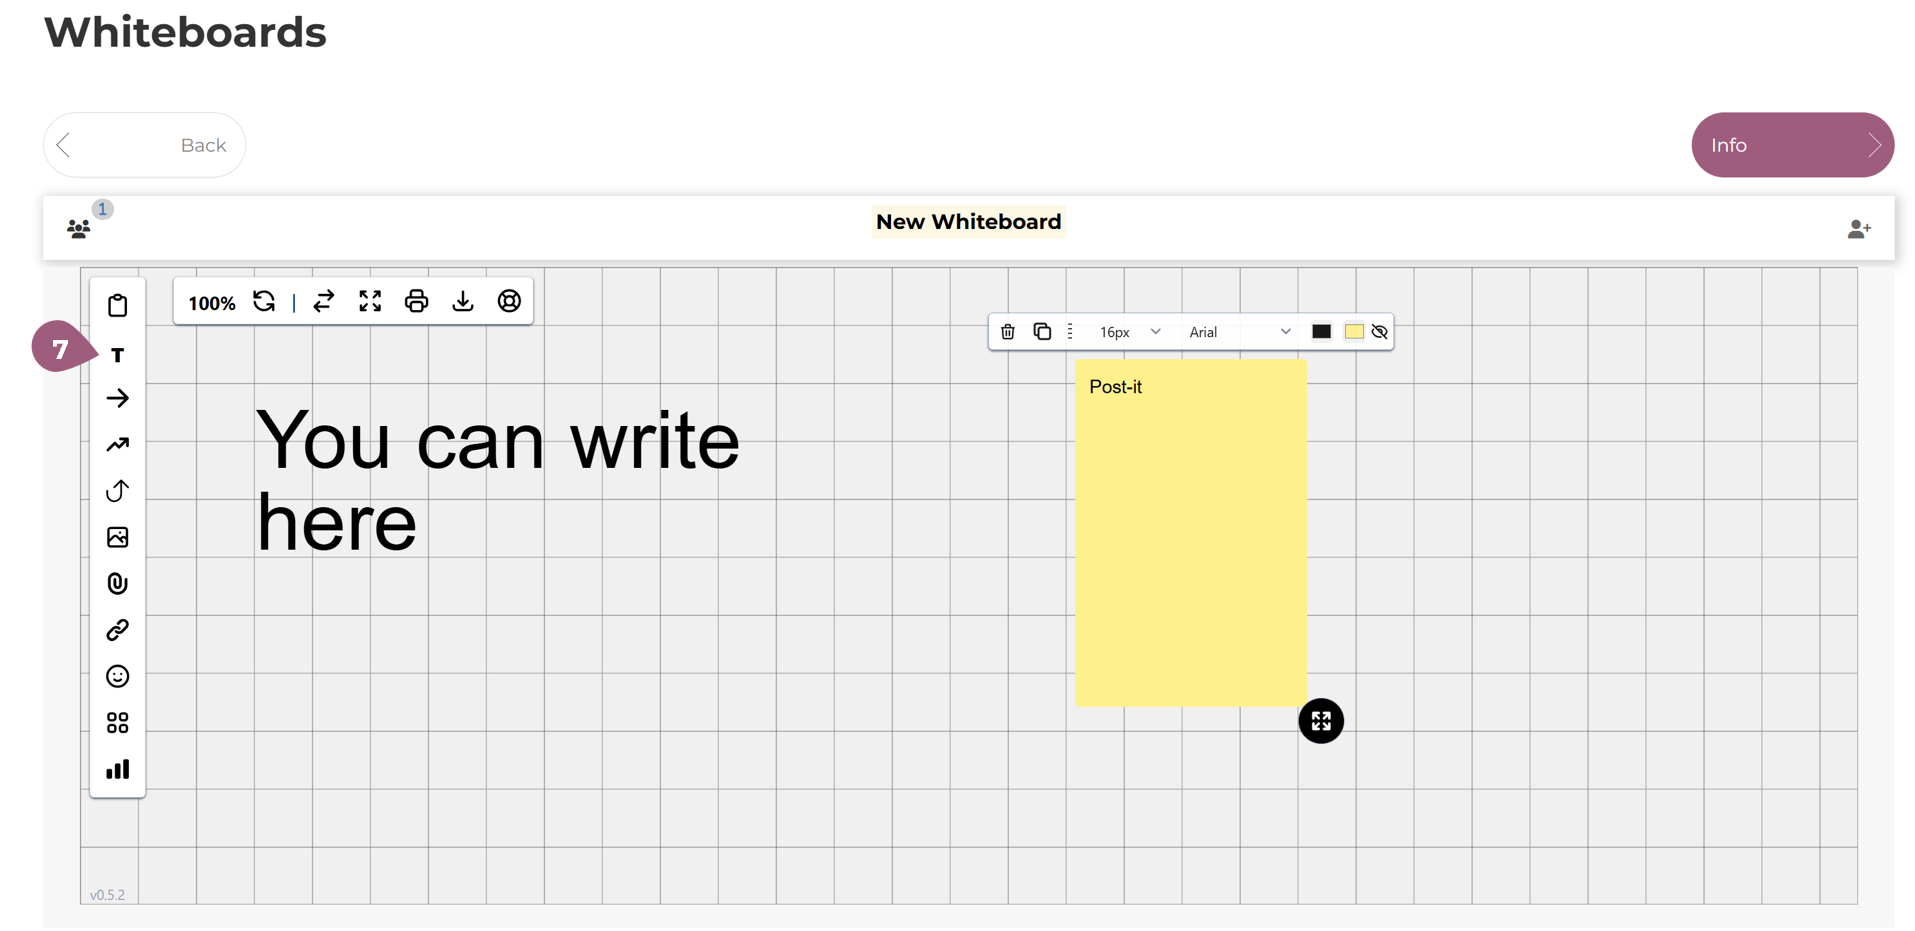
(7) Header/Text: You can add a text field using the T-button:
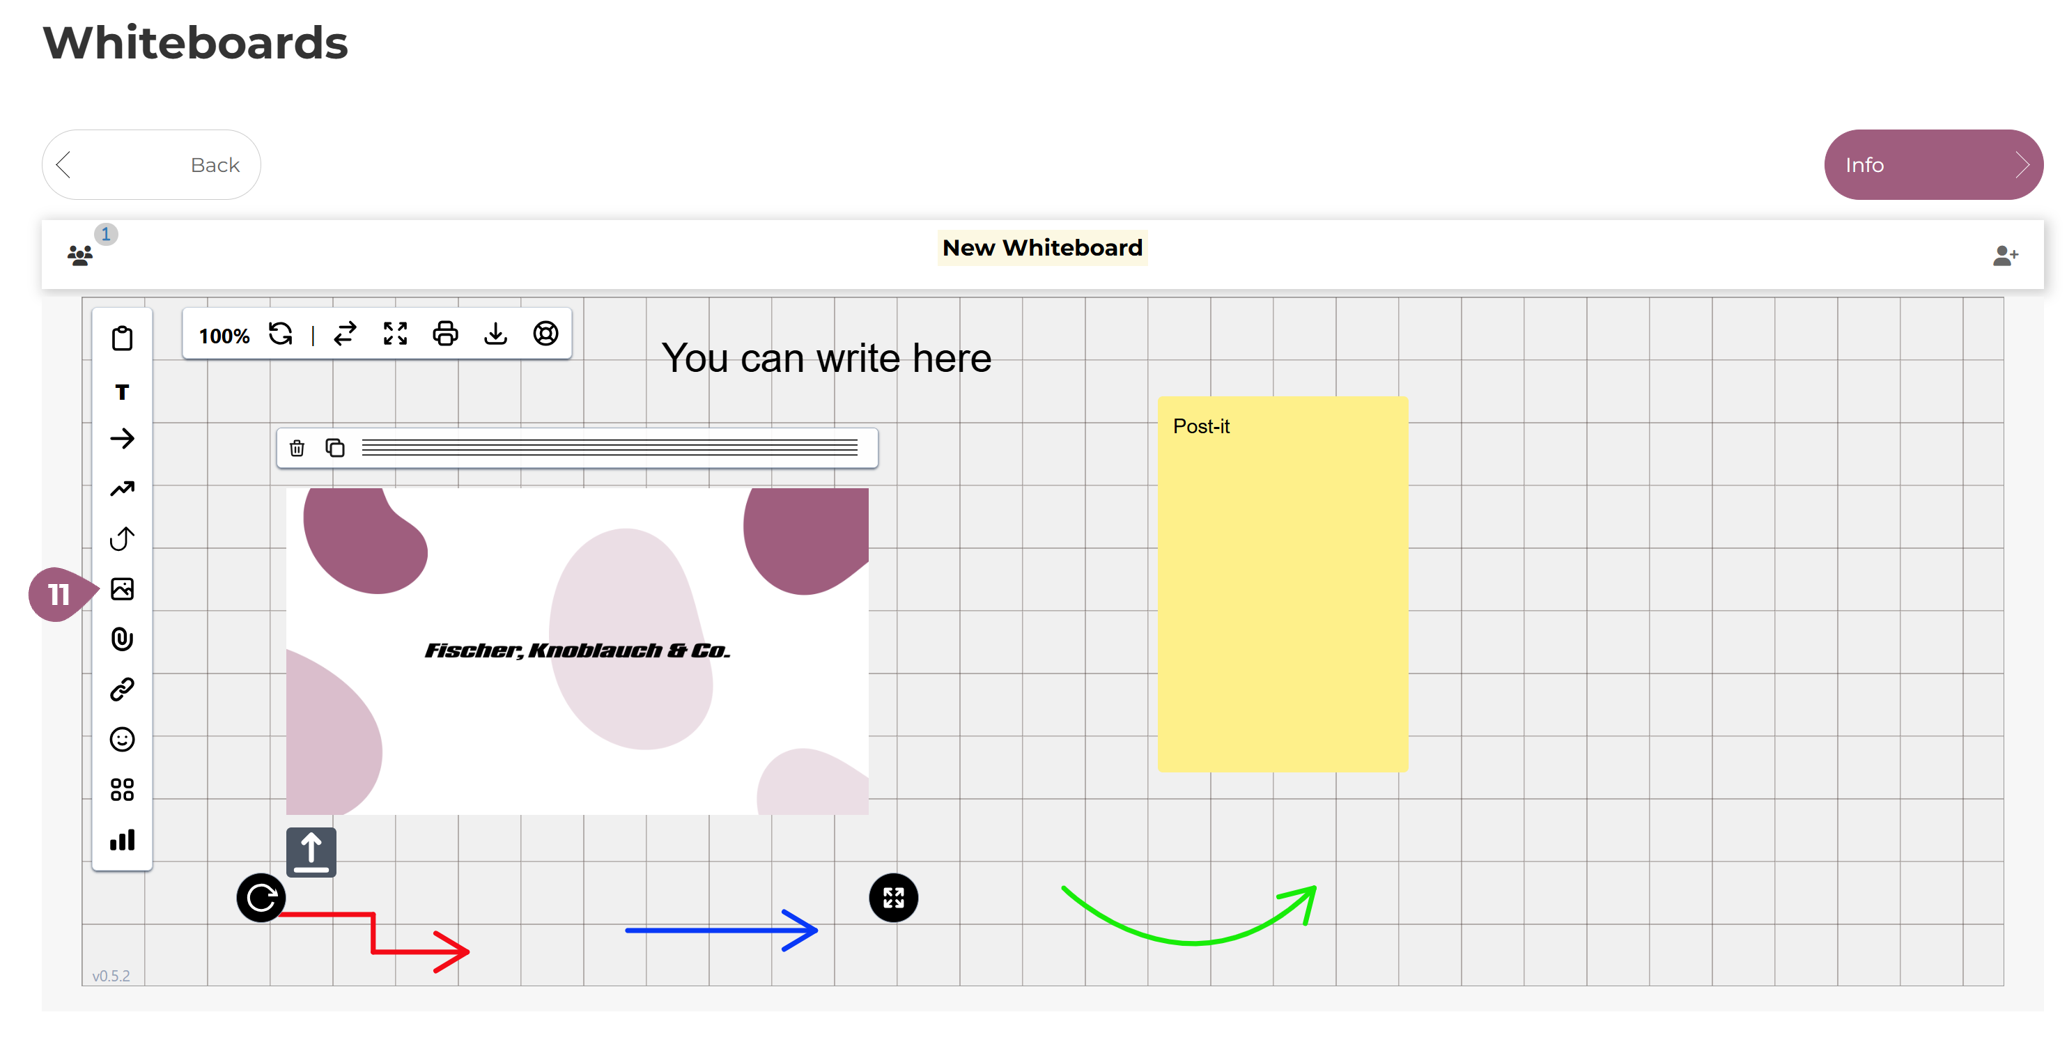
You can add a straight arrow via (8), a angled arrow via (9) and a curved arrow via (10) and change their size and color:

(11) Images: You can upload an image (JPG, PNG, GIF) using the image-button and adjust its size and orientation:
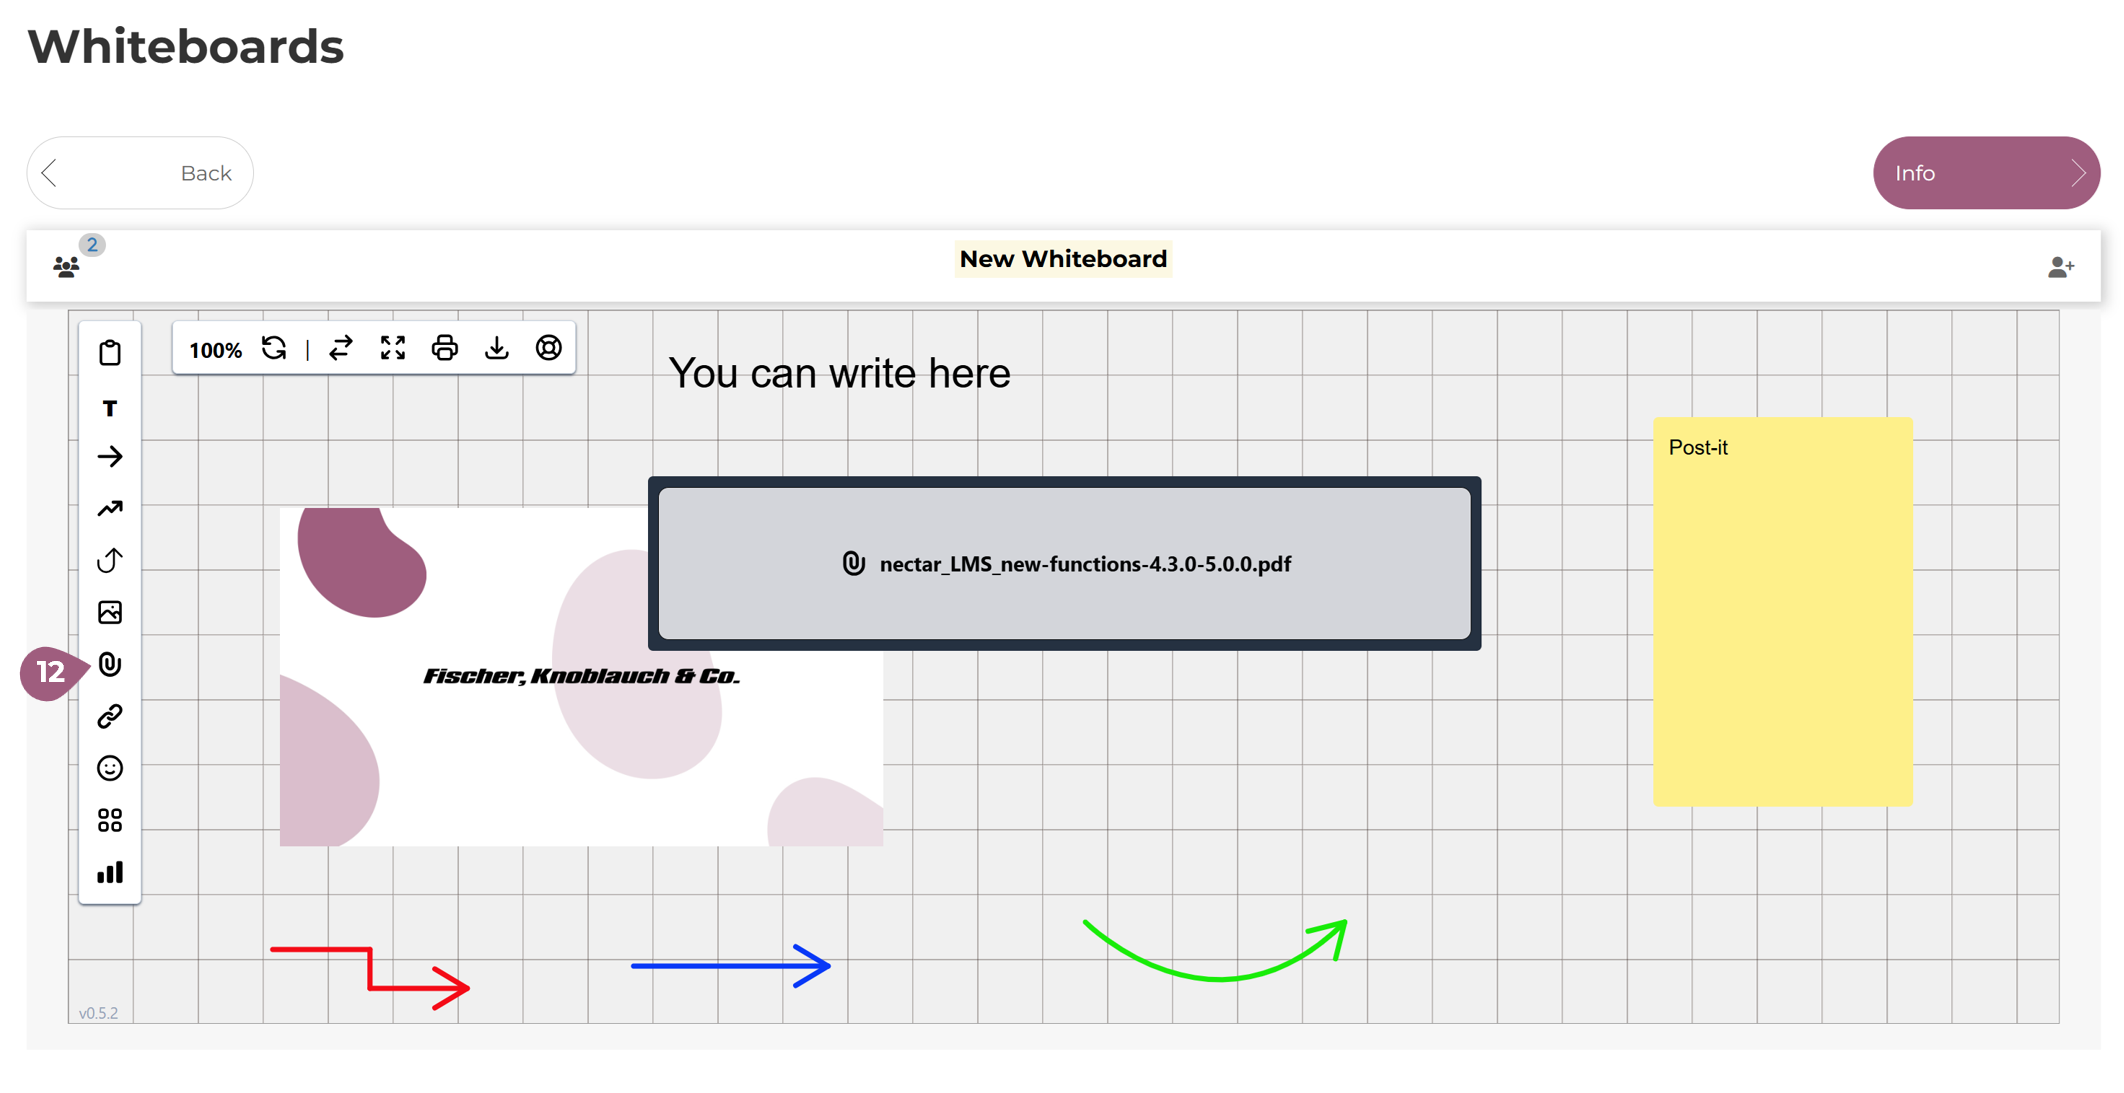
(12) Documents: You can upload a document (ZIP, DOCX, PDF) using theis button and adjust its size. Participants can download the uploaded document directly by clicking on it.
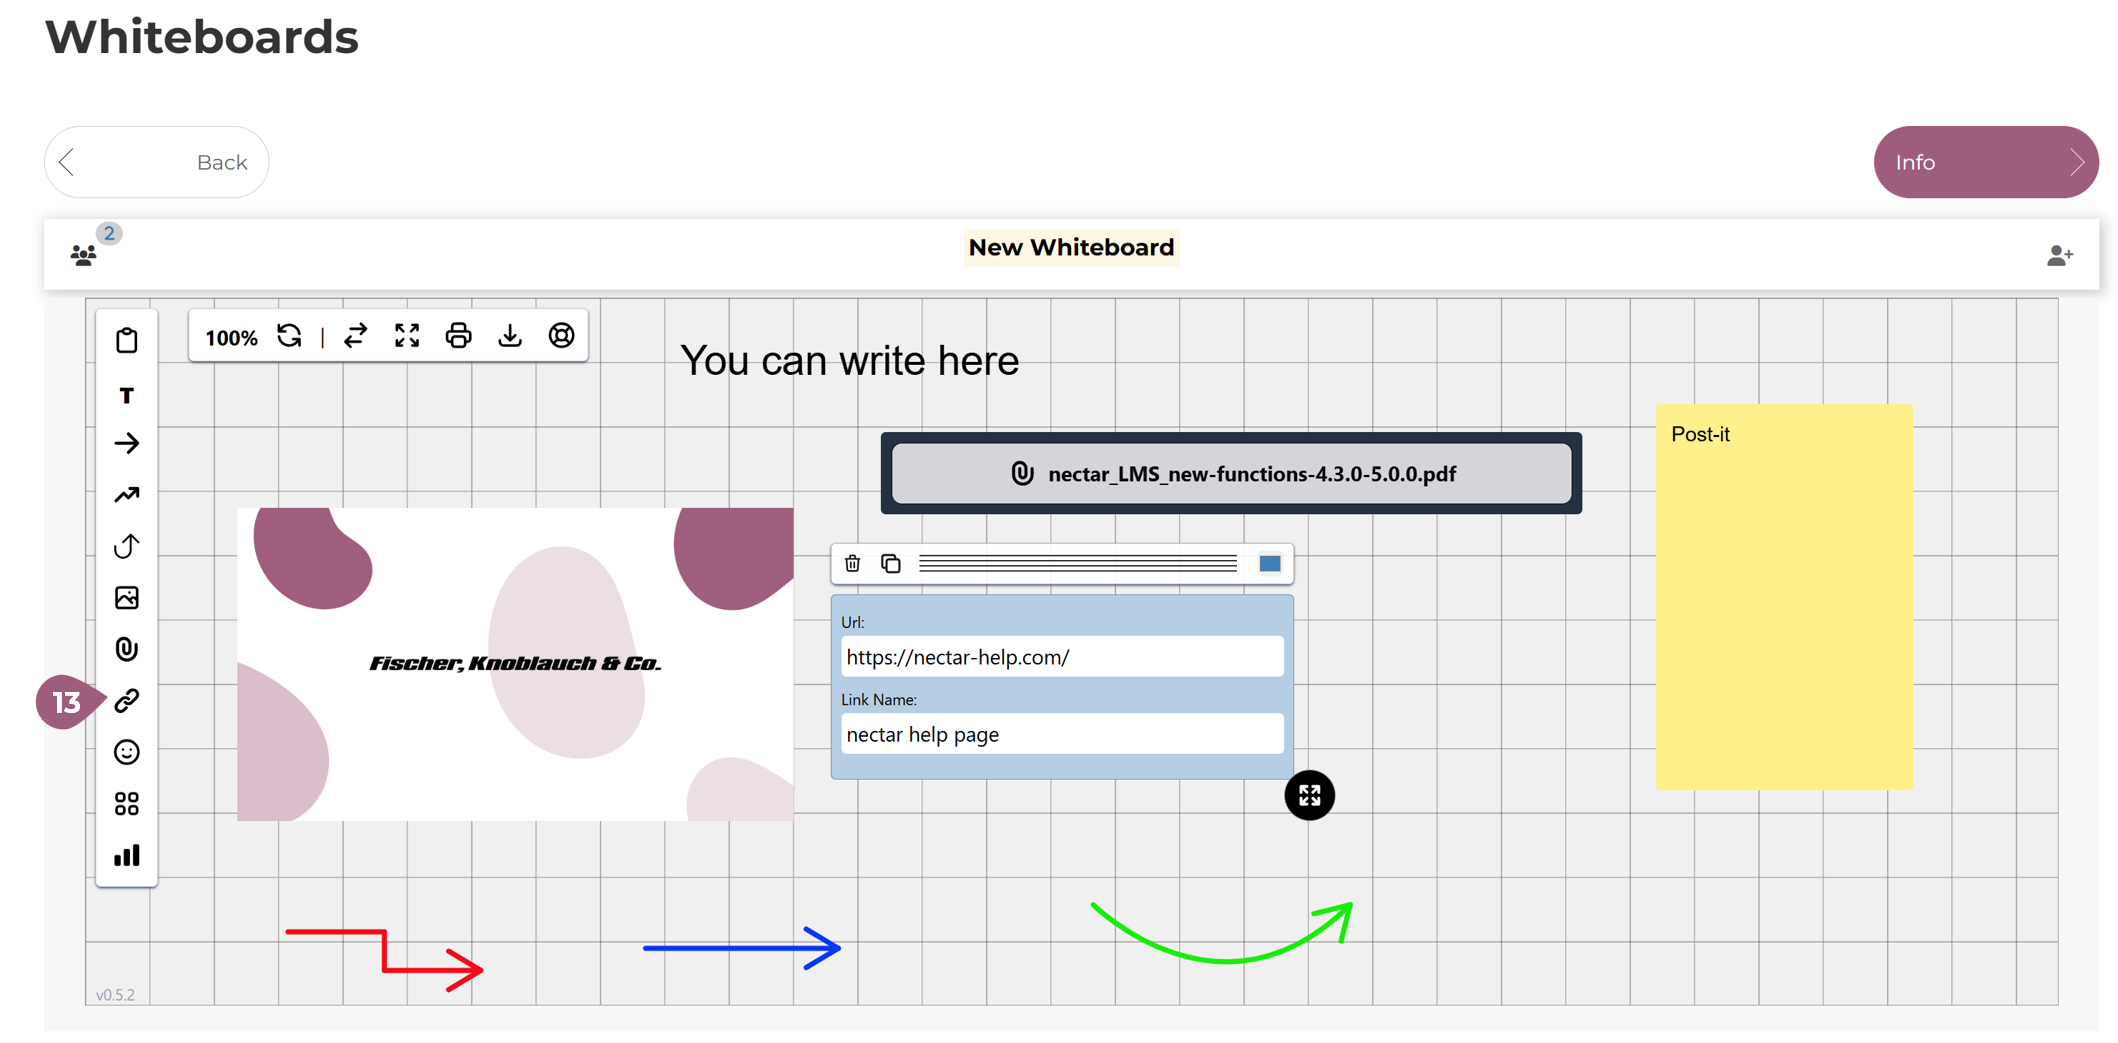
(13) Links: You can add a link using the button by entering the URL and a name for the link:
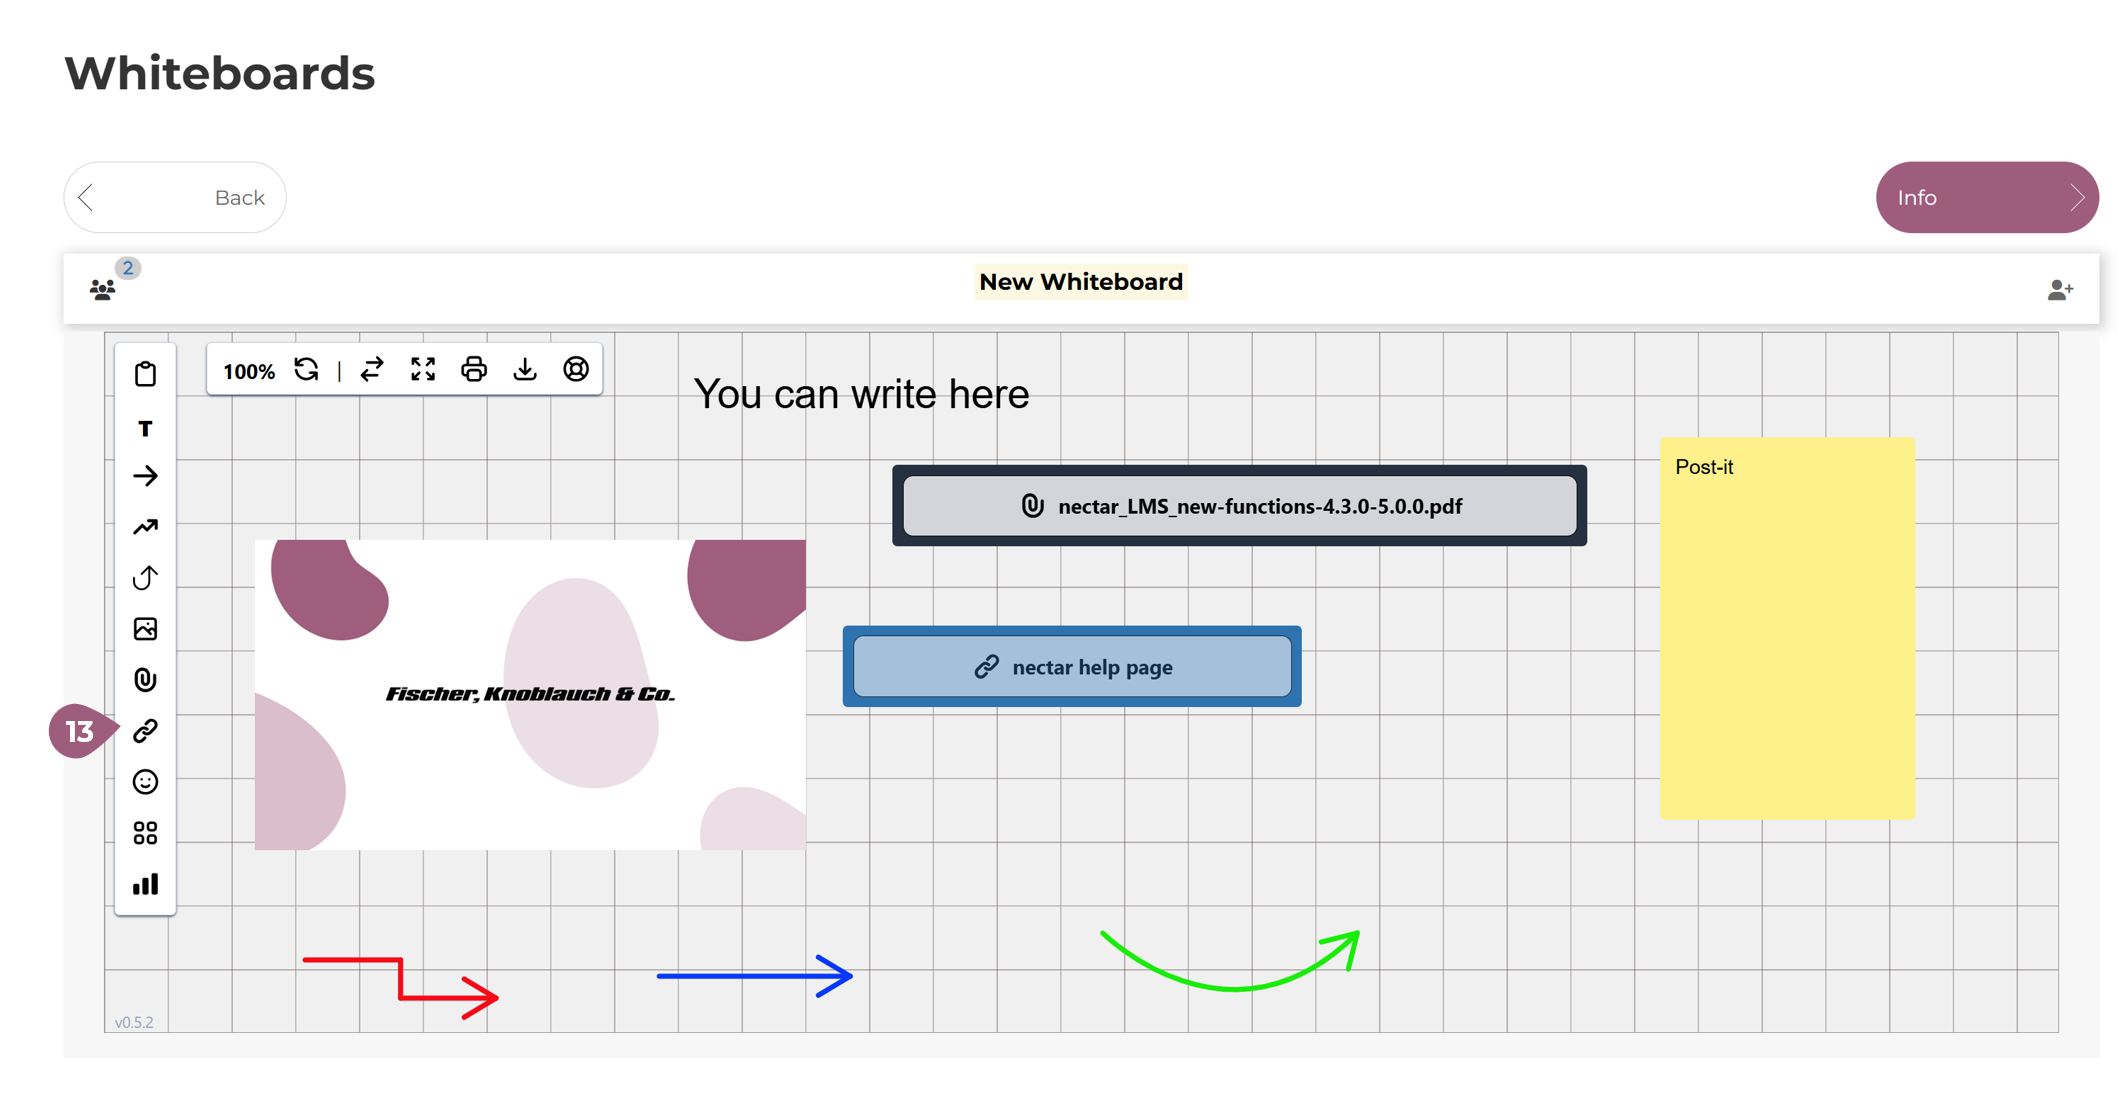
Participants can access the website directly by clicking on the object – as shown in the following screenshot using the Nectar LMS Help page as an example:
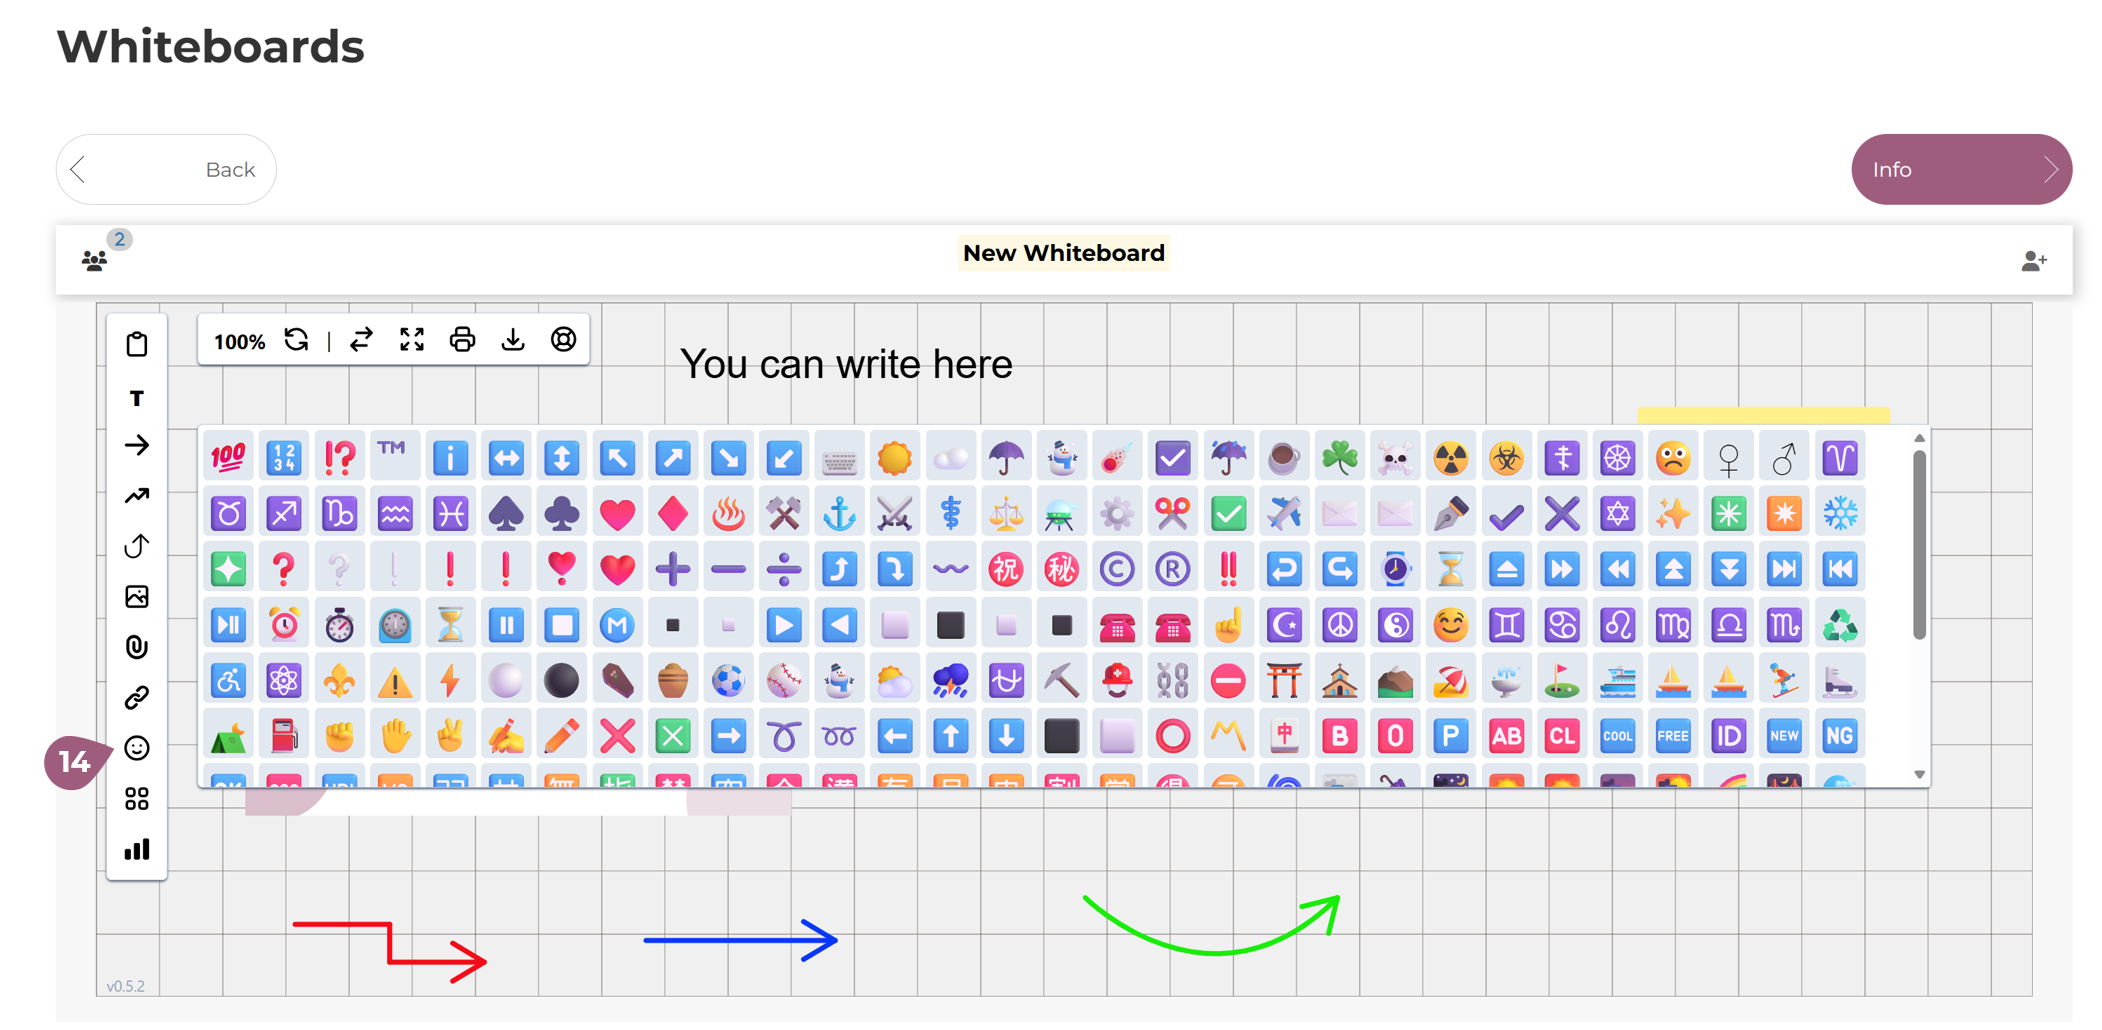
(14) Icons: You can add icons and adjust their size using the button:
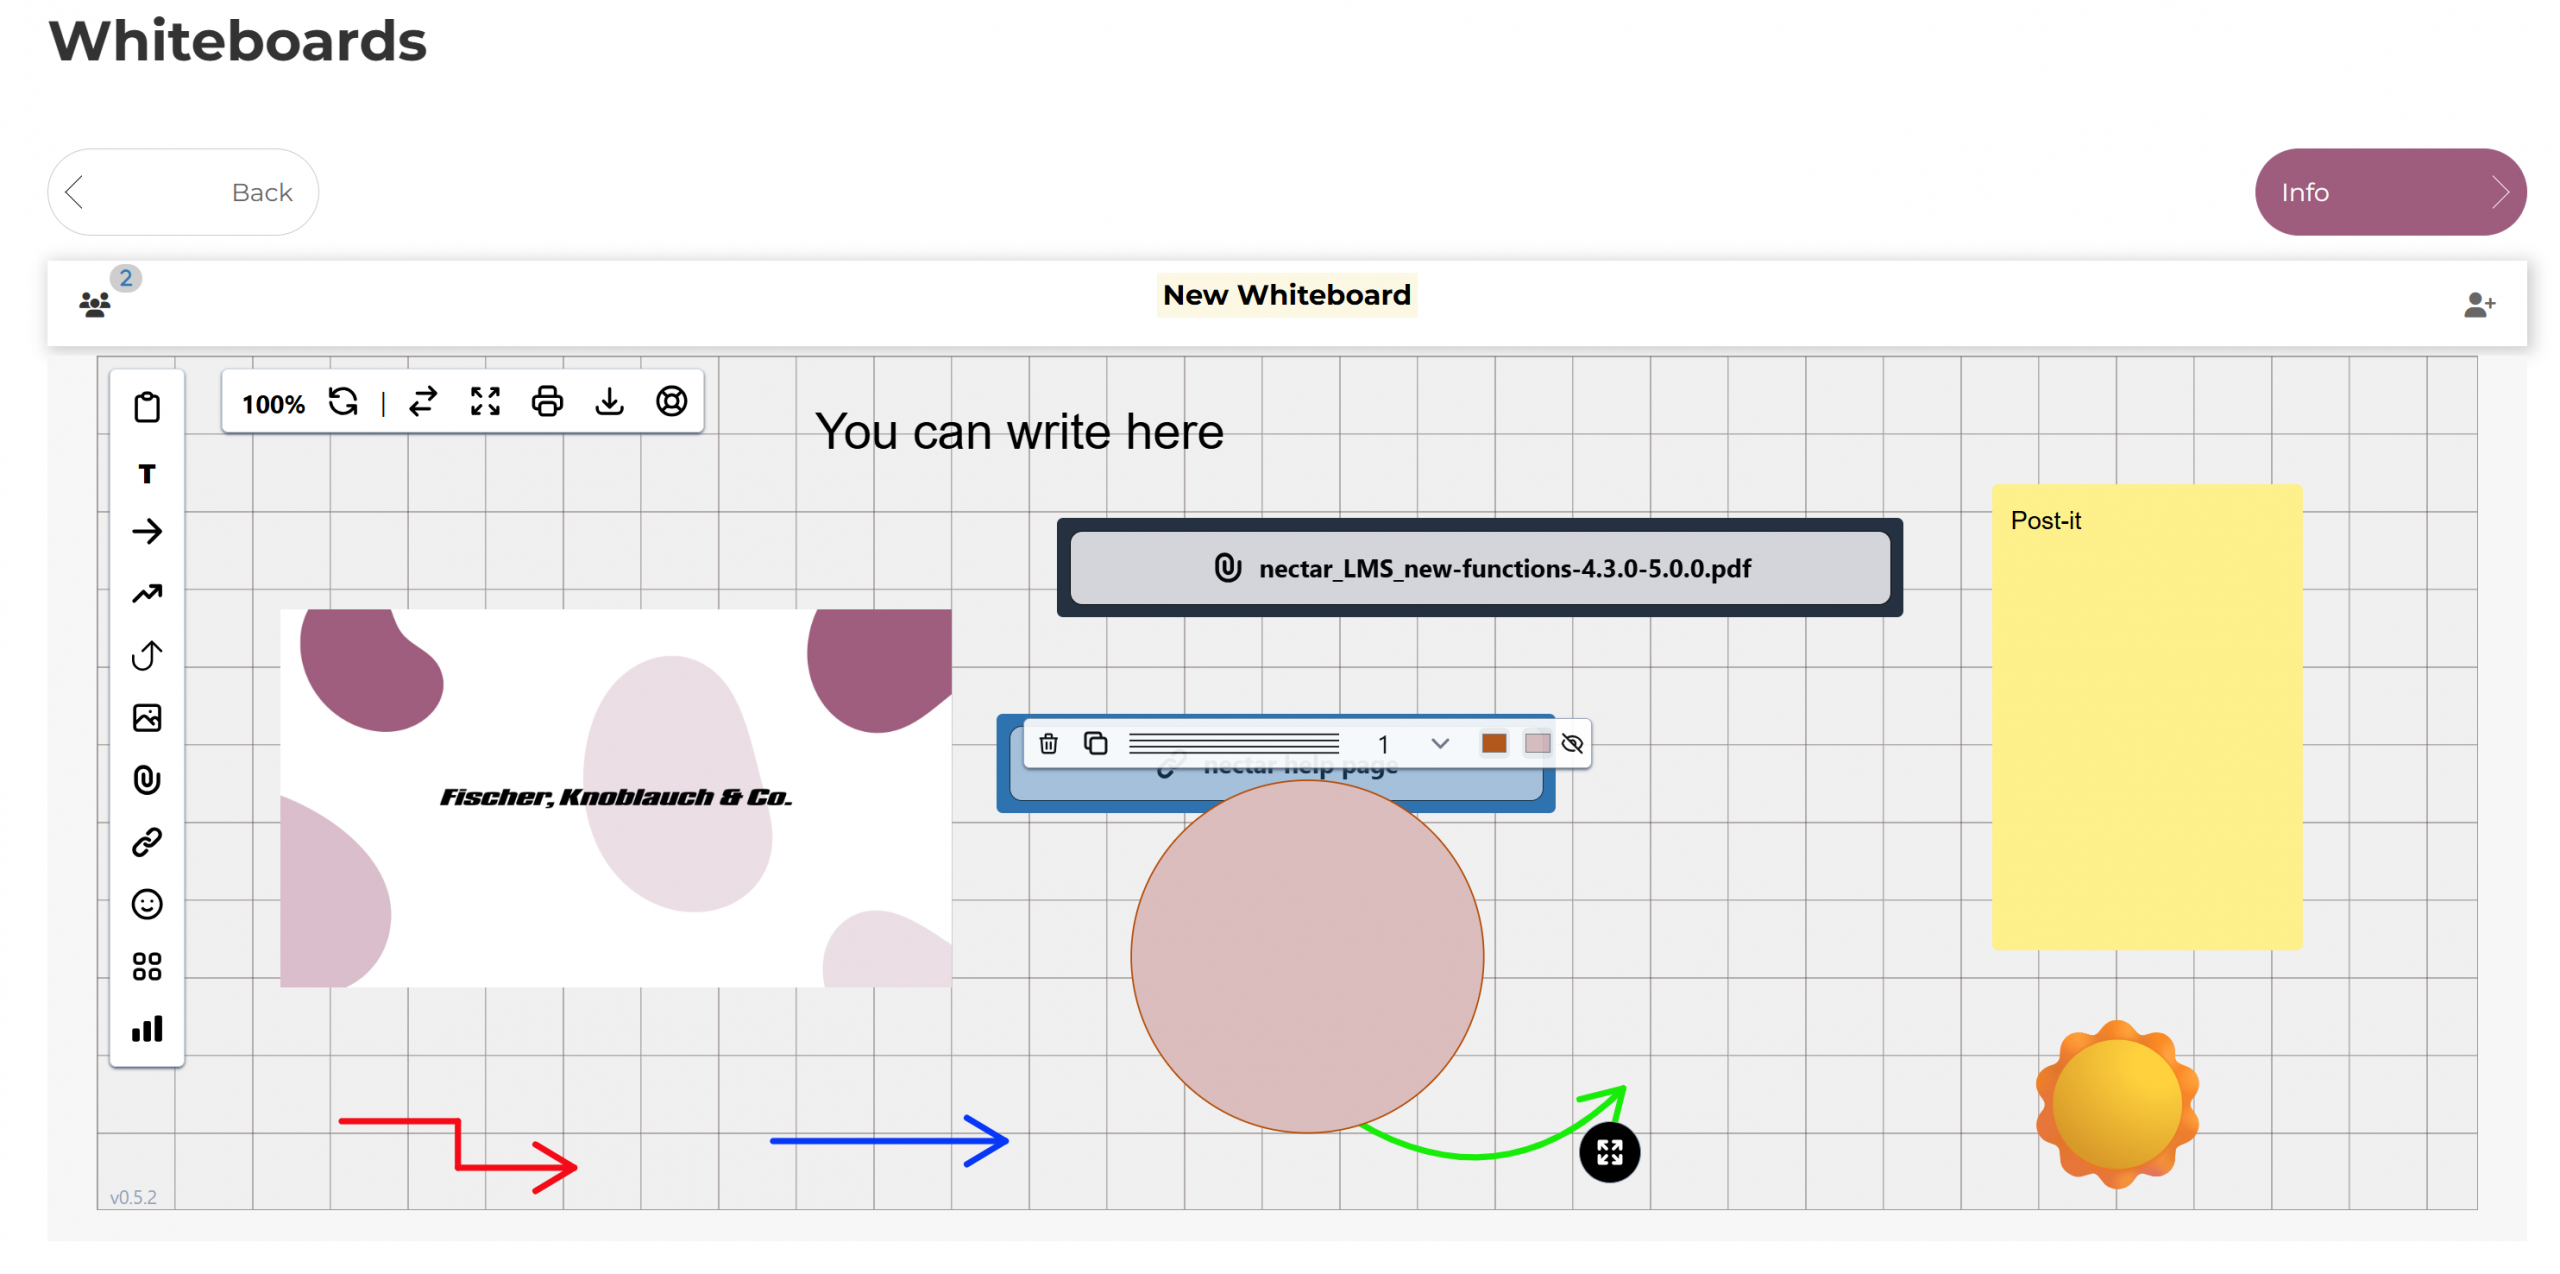
(15) Graphics: You can add graphics and adjust their size and color using the button:
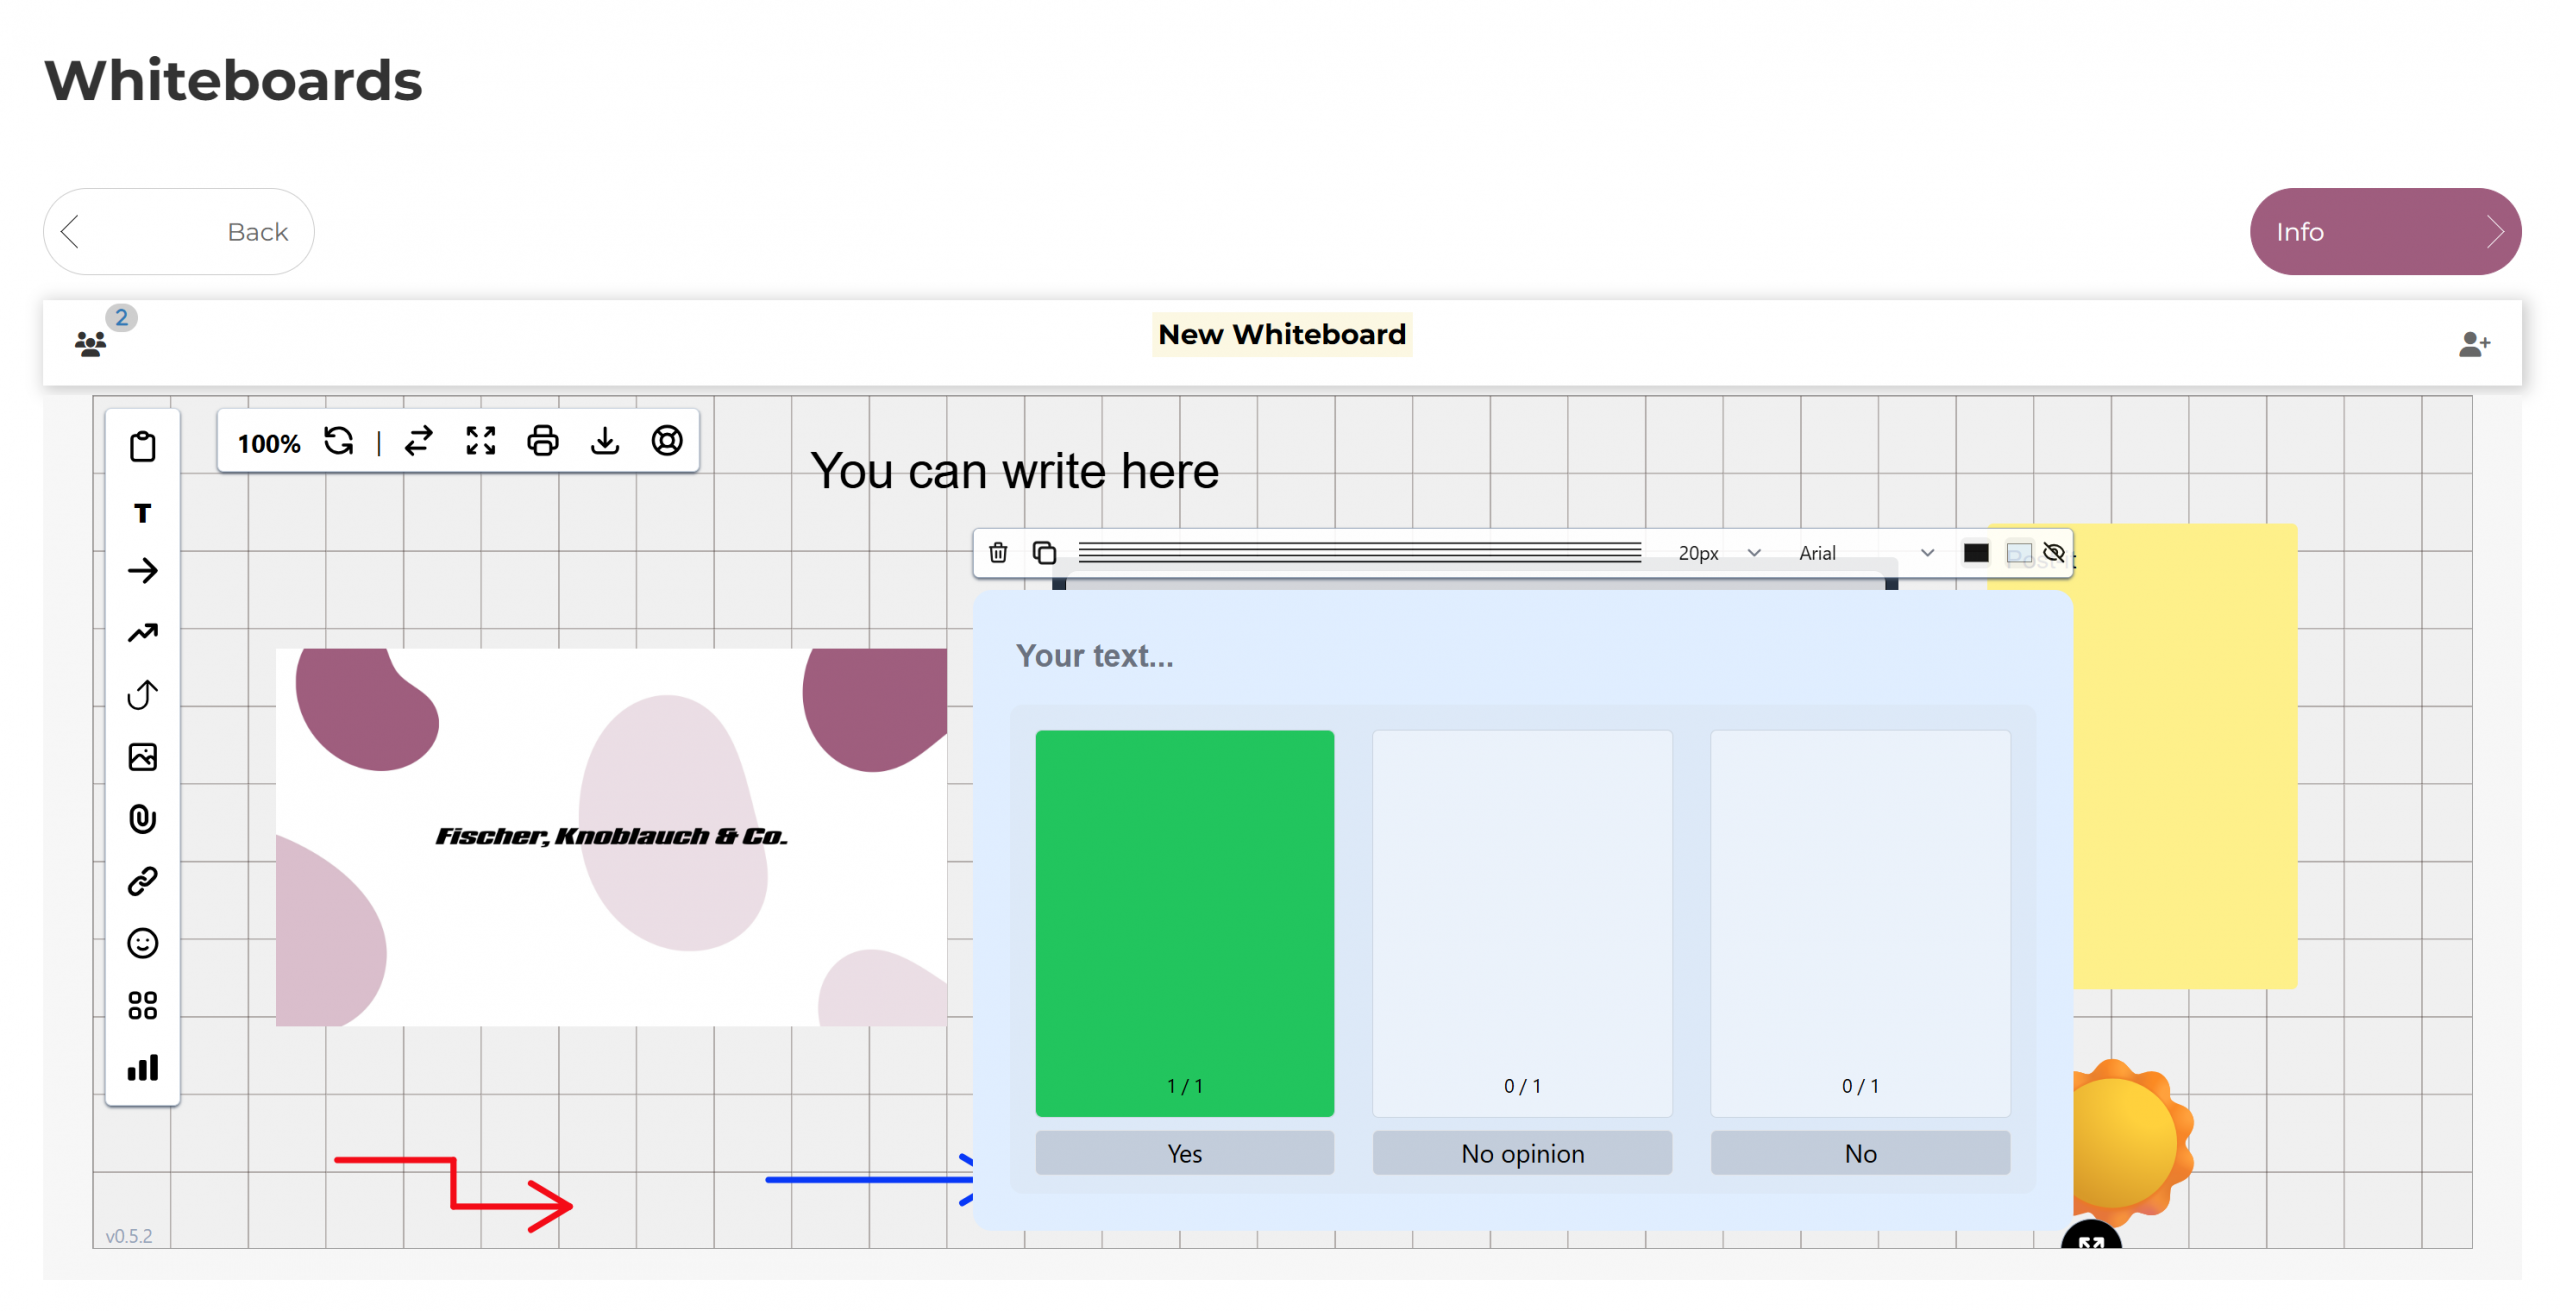
(16) Polls: You can add a poll using this button, allowing participants to directly express their opinion:
(17) Show zoom percentage: You can view the whiteboard’s zoom percentage at any time using this button.
(18) Reset whiteboard: You can reset the entire whiteboard at any time using this button.
(19) Reveal next item: This button displays the next element. The order corresponds to the order in which each element was created.
(20) Full screen mode: You can switch to full screen mode using this button.
(21) Print: You can print the whiteboard using this button. Please note that this creates a screenshot of the current view – if you are zoomed in and not all elements are visible, they will not be printed.
(22) Download: Click the button to download the entire whiteboard as a PNG image.
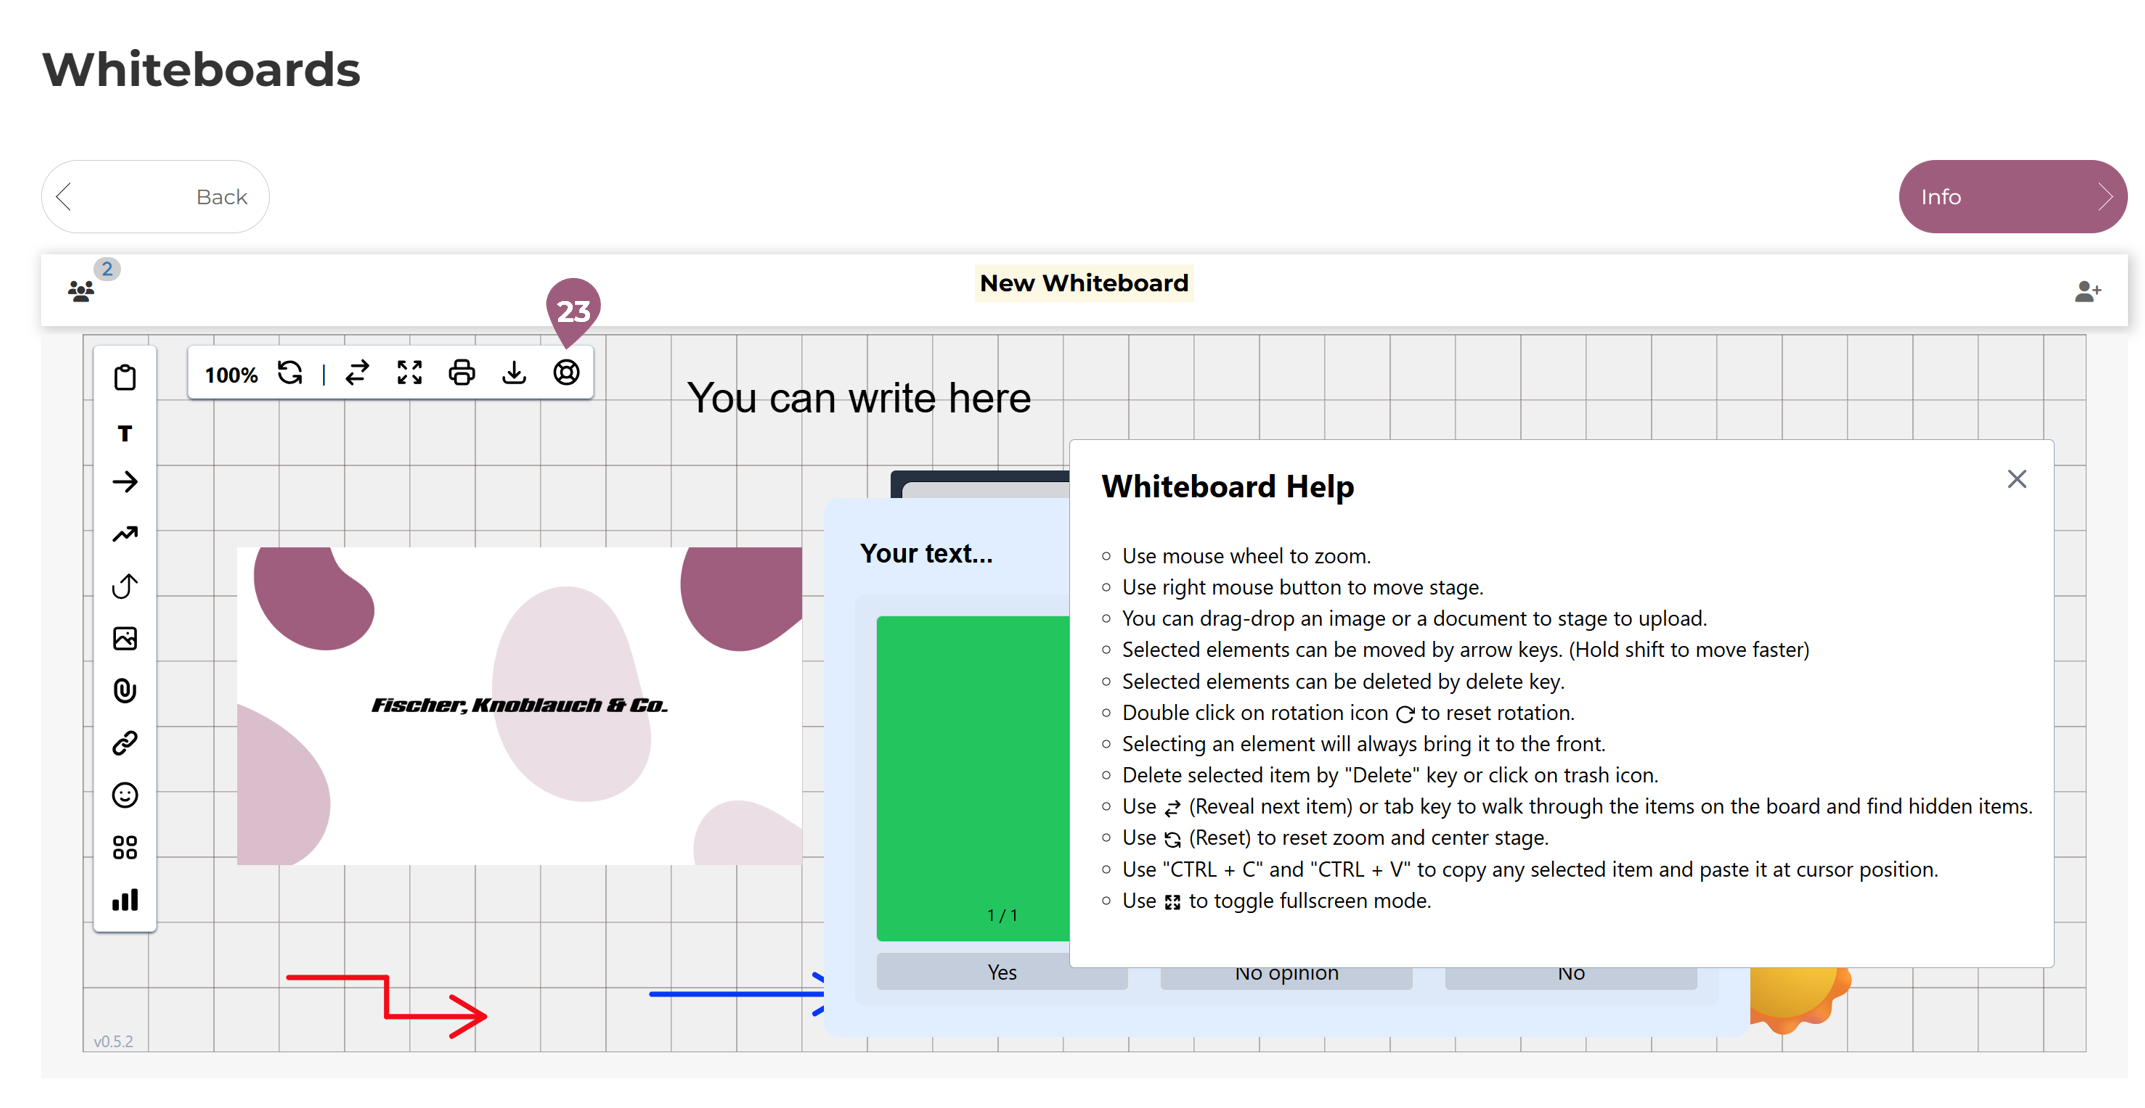
(23) Help pop-up: Clicking the button will display a pop-up window with instructions on how to use the whiteboard: