Uploading Media in nectar LMS
When creating a new film or podcast, you will see three tabs across the top: General, Settings, and System Messages.
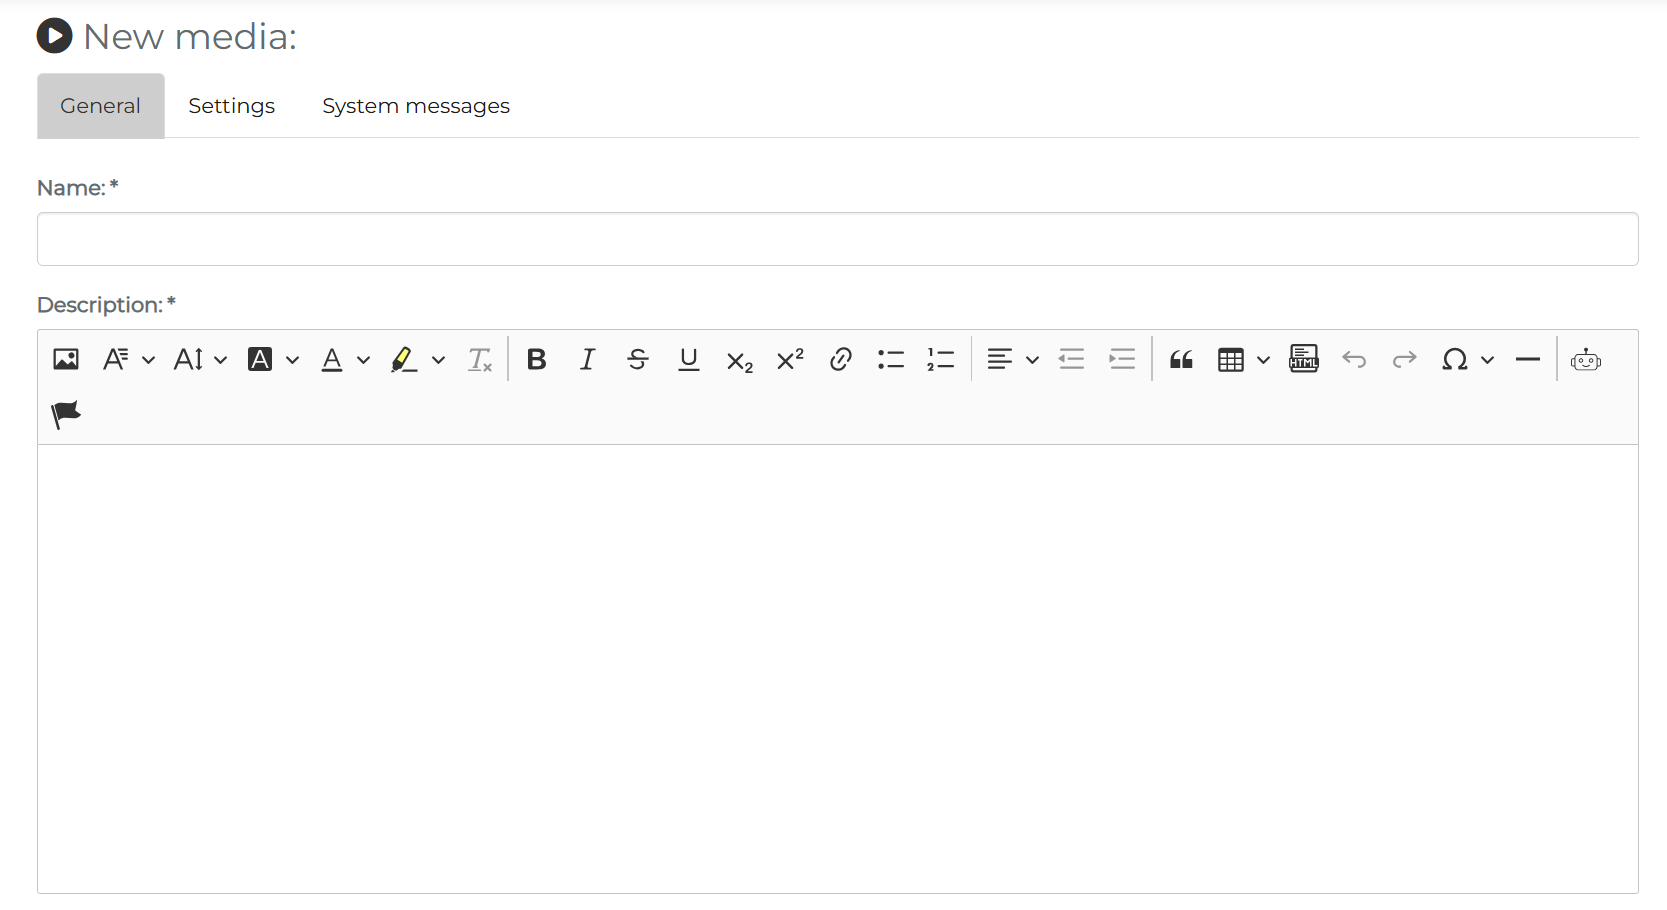
General
In this section, you will need to complete the most basic information about the media. Here, only the name and the description are required fields. For a detailed walkthrough of all the fields in the general tab, please see: Creating a Learning Unit: General Information
Settings
In this section, you will additional settings to tailor this film or podcast to your needs. All settings are given a detailed explanation on this page: Creating a Learning Unit: Settings
There are no additional media-specific settings.
System Messages
This tab remains empty until the media has been saved for the first time. Then, the system messages that will be generated from the settings will be visible. Before saving, it is also possible to add a custom system message to this media. More about custom system messages can be found here: Creating a Learning Unit: Custom System Messages
To complete the next steps, click on save.
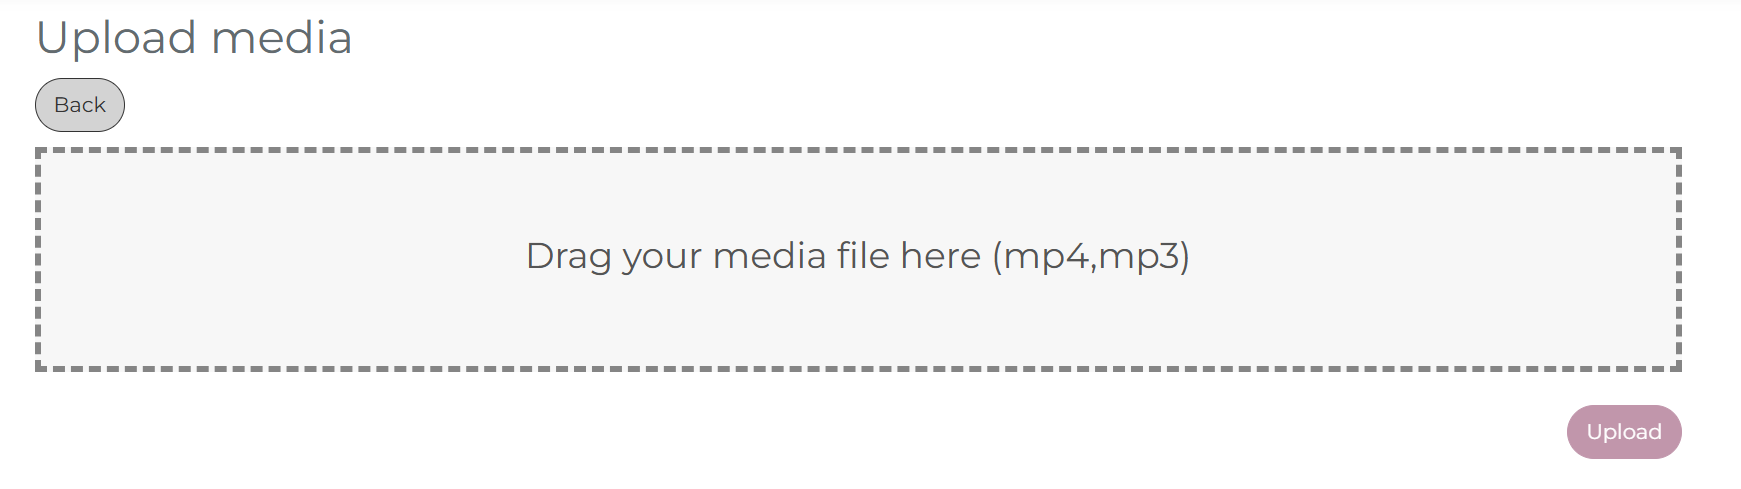
Upload Media
The final required step is to upload a media file. Using drop and drop or selecting from your device, it is possible to upload your mp3 or mp4 file. After your media has been uploaded, closed captioning will be automatically generated by the LMS.
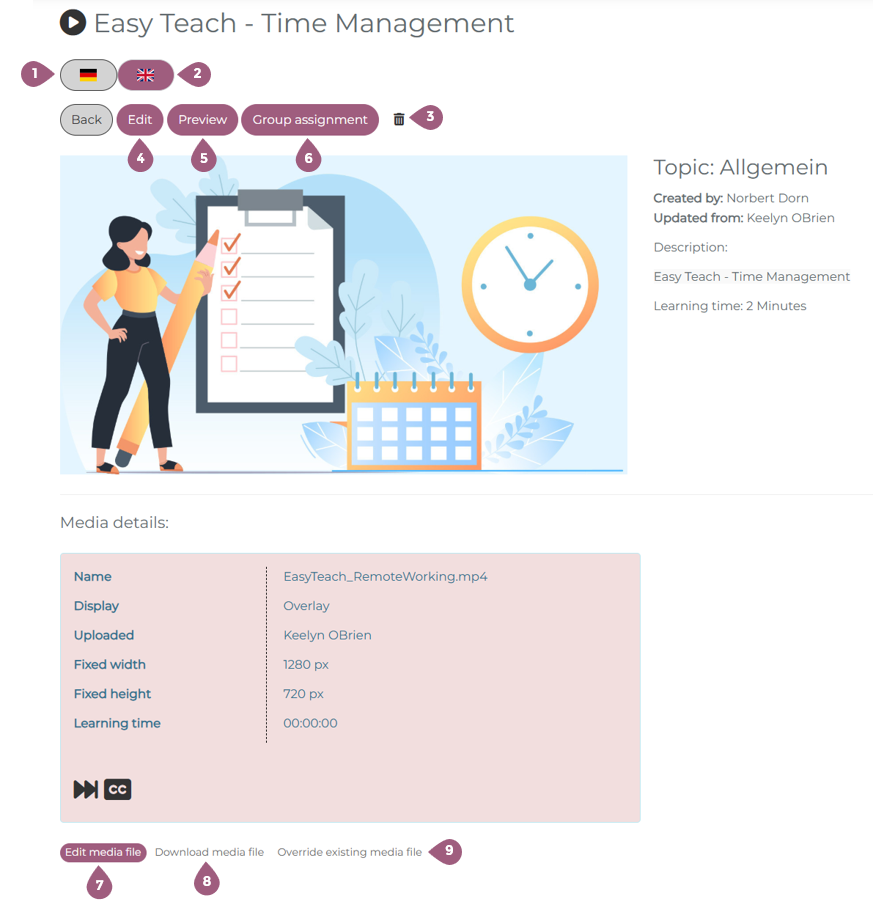
Media Summary Page
After the media has been uploaded into the LMS, you will see the following summary page. Here, it is possible to edit or add languages (1) and (2), edit the media settings (4), preview the media from the learner’s view (5), assign the media to groups (6), or delete the media (3).
Key information relating to the media can be found to the right of the cover image, as well as underneath it. It is also possible to edit the media player properties (7), download the media file (8), or override the media file (9).
When editing the media player properties, it is possible to:
(10 and 11) change the fixed width and height of the media player
(12) set the type of display (overlay or popup)
(13) set the media to mute as default (when activated)
(14) enable autoplay
(15) enable video controls (play, pause, fast forward, closed captions, full screen, video time)
(16) enable users to skip/fast forward
(17) allows users to download the file using the download symbol in the top left corner of the media (when activated)
(18) enable captions on the video
(19) toggle captions to default on or off (the captions must be enabled for this to work)
