Creating Office Documents
When creating a new office document, you will see three tabs across the top: General, Settings, and System Messages.
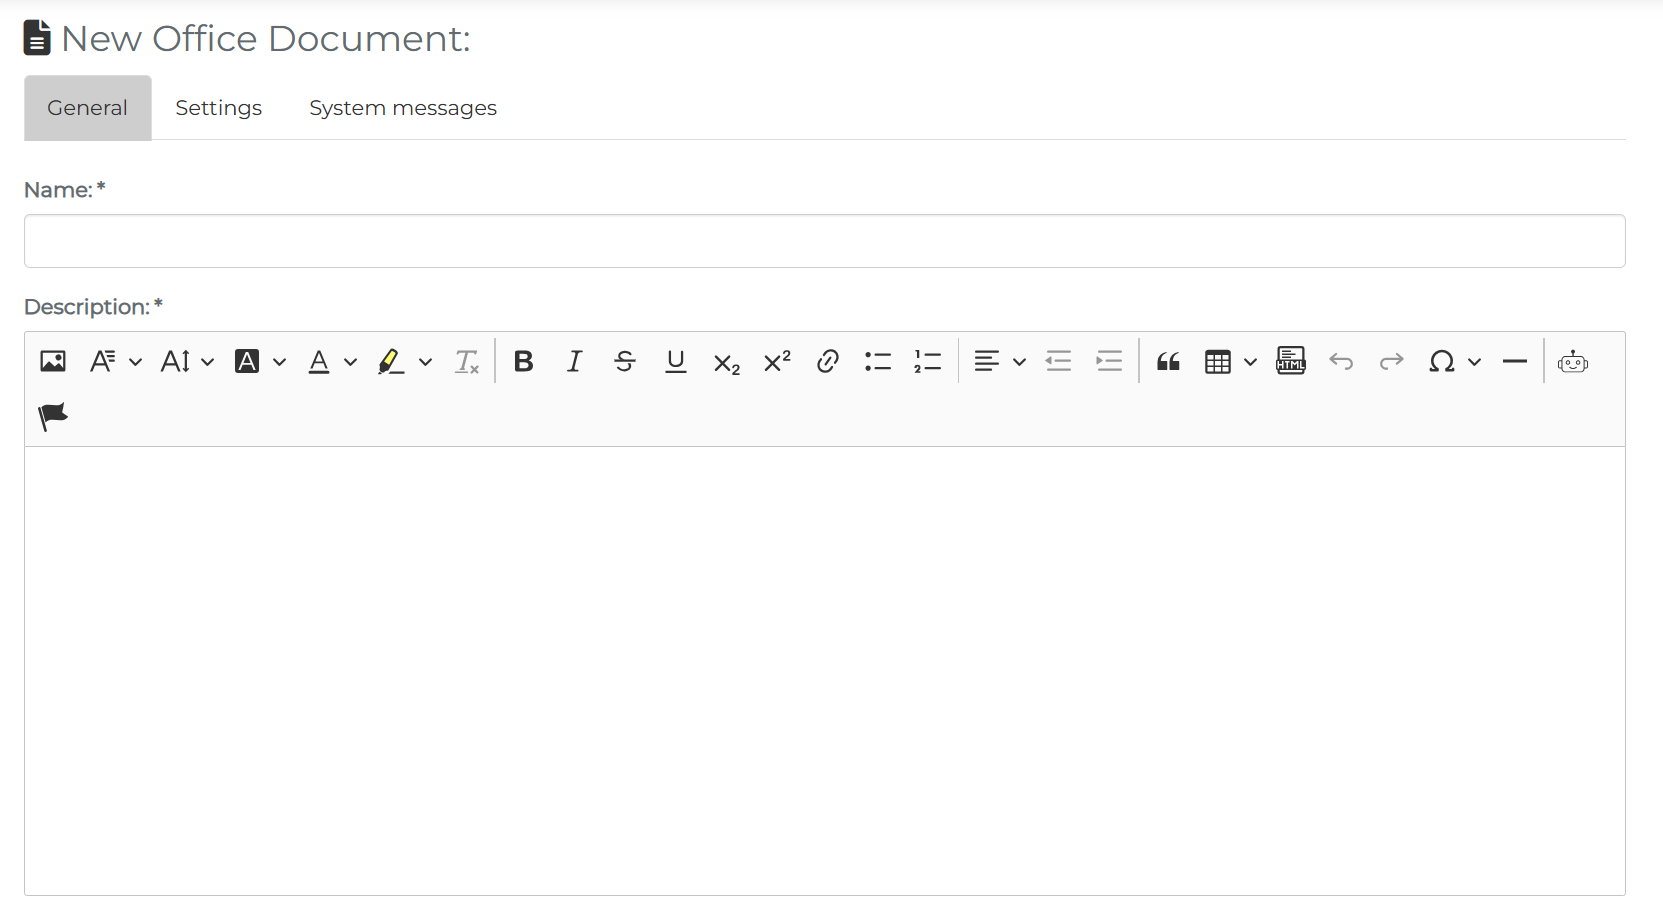
General
In this section, you will need to complete the most basic information about the office document. Here, only the name and the description are required fields. For a detailed walkthrough of all the fields in the general tab, please see: Creating a Learning Unit: General Information
Settings
In this section, you can add additional settings to tailor this office document to your needs. All settings are given a detailed explanation on this page: Creating a Learning Unit: Settings
Office documents do not have any additional settings.
System Messages
This tab remains empty until the office document has been saved for the first time. Then, the system messages that will be generated from the settings will be visible. Before saving, it is also possible to add a custom system message to this course. More about system messages can be found here: Creating a Learning Unit: Custom System Messages
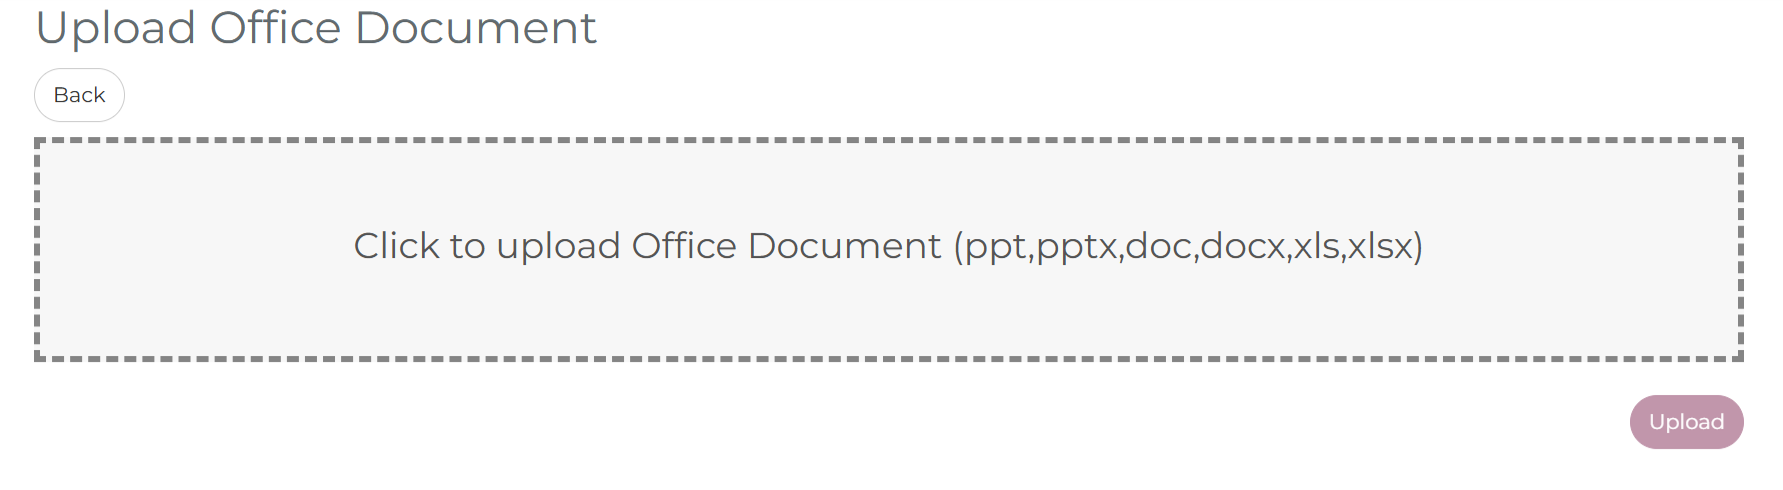
The last step is to upload the office document in the LMS. With a click on save, the office document is ready to be used.
Office Document Content Overview
After the office document has been uploaded and saved, you will be directed to the Office Document Overview page. On this page, you can view and edit information related to the office document. The document is now active in your LMS but will not be visible to learners until it has been assigned to at least one group.
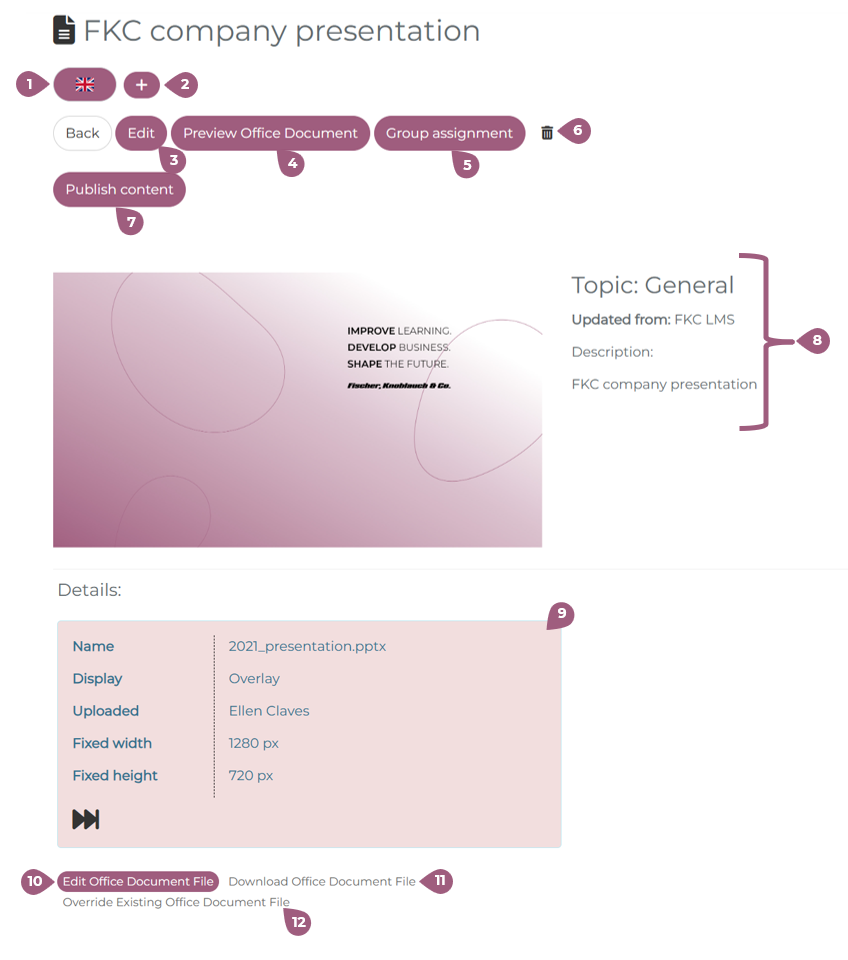
The flag icon indicates the language(s) in which this office document is available (1). Using the plus icon, you can add additional content languages (2). The Edit function allows you to modify the general information, settings, and system messages for this document (3). The Preview function lets you view the document from the learner’s perspective (4).
The Group Assignment button enables you to view existing group assignments, create a new group with an assignment to this office document, or assign the document to additional groups (5).
Note: Only new group assignments can be added here. To remove a group assignment, you must do so via the group structure.
Using the trash can icon, you can delete the office document (6). The Publish Content button makes the content visible once it has been assigned to a public-facing group (7).
Next to the preview image, you can review key information such as Topic, Last updated by, Description, and Content (8). In the Office Document Details section, you will find file-related information including the document name, display type, name of the uploader, and the window size (height and width) (9).
Below the details, three actions are available:
- Edit the office document (see below) (10)
- Download the existing file (11)
- Override the file (12) Note: When a file is overridden, the new version becomes immediately visible to all users who have access to the document. The previous version is no longer accessible.
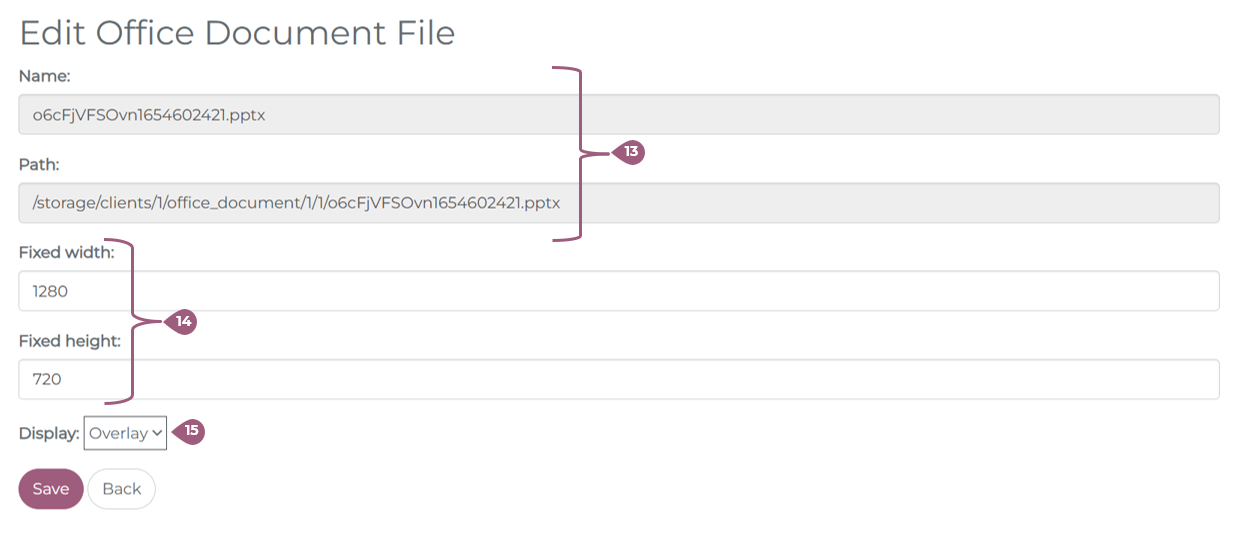
Under Edit, you can view the file name and its storage path in the databank (13). These values cannot be modified. The fixed width and height of the overlay window are defined in pixels and can be adjusted to increase or decrease the display size (14). You can also choose the display mode, either overlay or popup window (15).